Official Bedlam Veil Dungeon Guide ESO
Welcome to the Bedlam Veil Dungeon Guide for both Veteran and Veteran Hard mode in The Elder Scrolls Online (ESO). Bedlam Veil is located southern west part of Wrothgar.
This dungeon has 3 bosses with their own Hard Modes, 3 puzzles and a lot of trashmob packs. (Trashmob = Enemies that can add to the difficulty and liveliness of a dungeon/trial)
If you have more questions, you can also ask someone in our community partner discord about this Bedlam Veil Dungeon Guide!
The Story in Bedlam Veil Dungeon for ESO
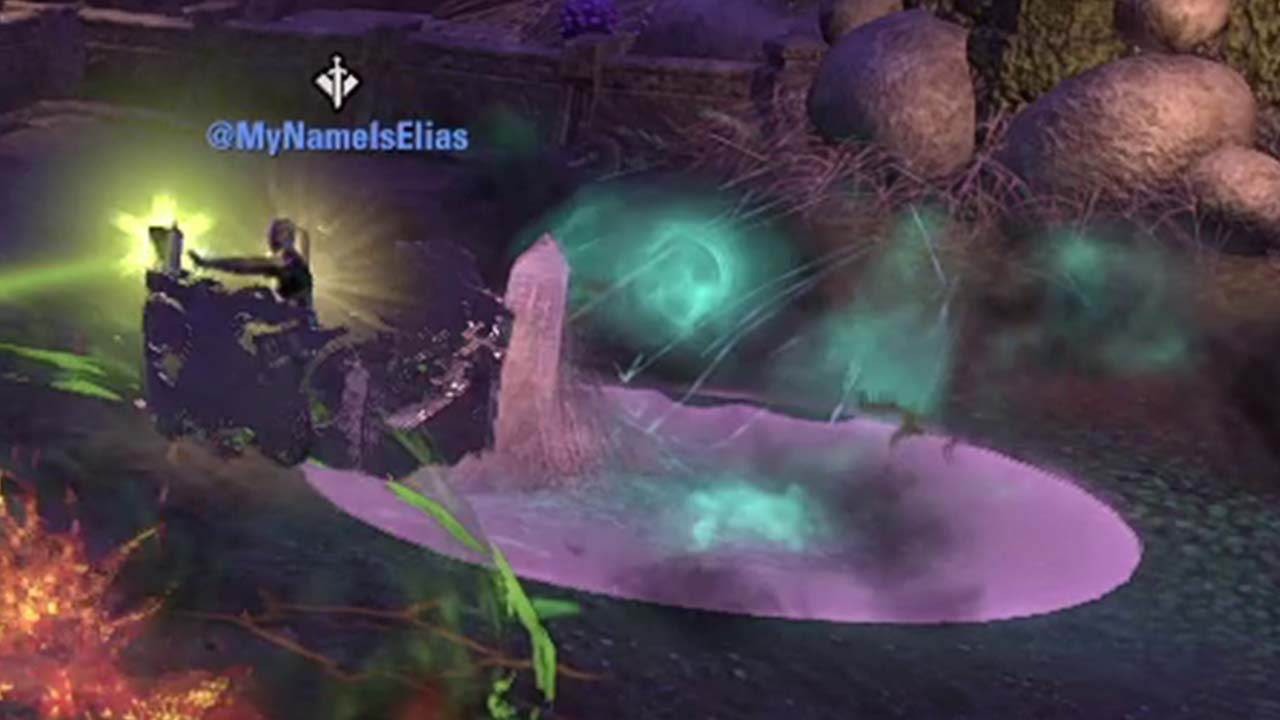
A cult known as the Blind Path has invaded the Bedlam Veil, and Fa-Nuit-Hen needs you and your allies’ assistance in protecting a powerful relic. An extension of the Demiprince’s realm, this mysterious vault serves a very different purpose from that of the Maelstrom Arena.
Table of Contents:
- Sets & Rewards
- Trashmobs
- Special Buffs – Charms
- Boss Fights
- Puzzles
Sets in Bedlam Veil
3 different sets drop in the Bedlam Veil Dungeon in ESO.
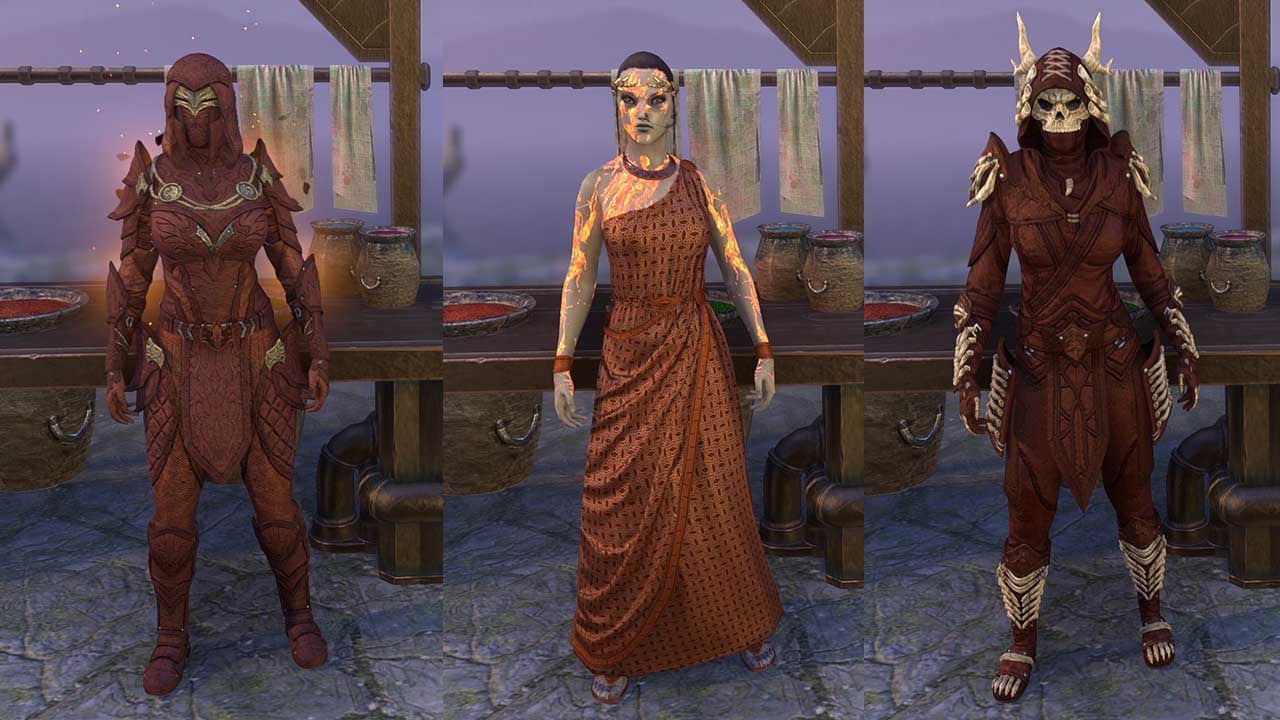
- Light: Blind Path Induction Set
- Medium: Tarnished Nightmare Set
- Heavy: Reflected Fury Set
- Monster Set: The Blind Set (Veteran only)
Rewards in Bedlam Veil
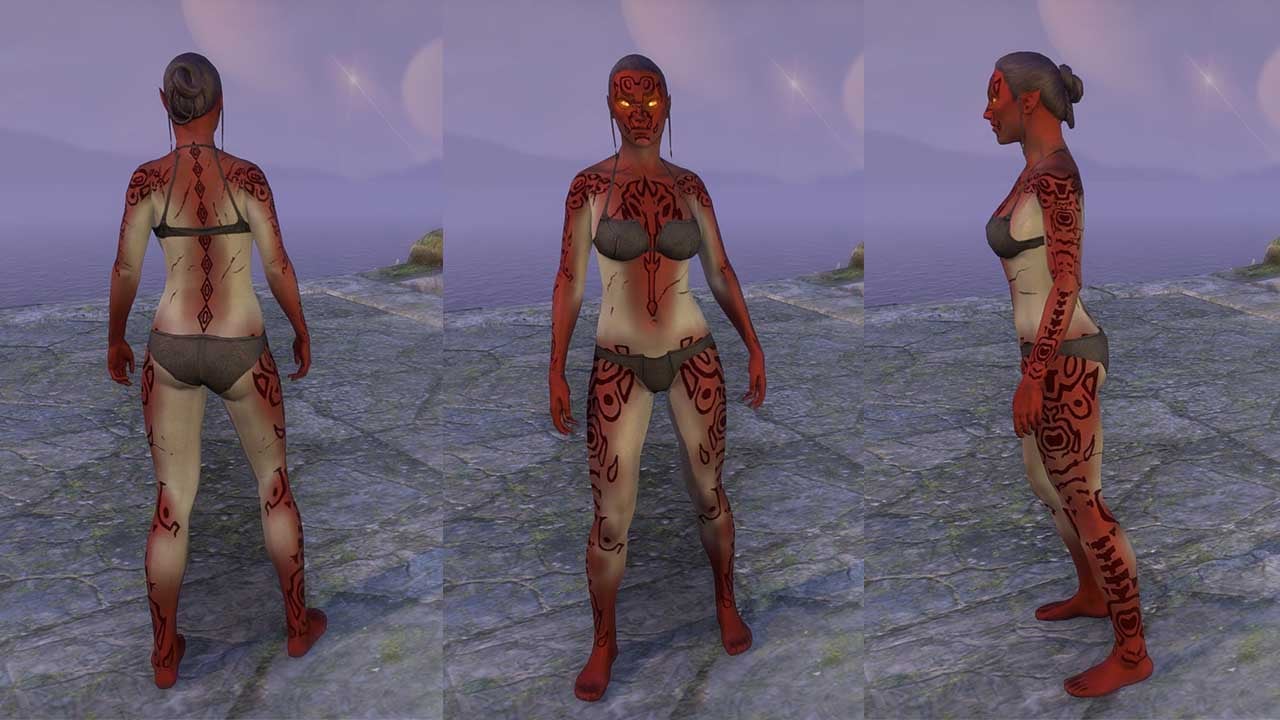
Dye: Artifact-Hunter Amber (Requires Retribution Takes Time achievement)

Memento: Echonir Examination (Requires Bedlam Veil Conqueror achievement)
Skin: Bloodmarks of Malacath (Requires Scions of Ithelia Delver achievement)
Trophy: The Blind awarded when you complete Bedlam Veil on Normal mode.
Bust: The Blind awarded when you complete Bedlam Veil on Veteran mode.

Titles
- Bedlam’s Disciple (Requires theUnshakeable Fervor achievement)
- the Self-governing (Requires the Lithe and Clever achievement)
- the Intervener (Requires the Bedlam Veil Champion achievement)
Trashmonsters in Bedlam Veil Dungeon
The trash in Bedlam Veil Dungeon shows the mechanics that you will encounter at the bosses. Most of the trash does very little damage, exceptions and other notable mechanics are mentioned below.
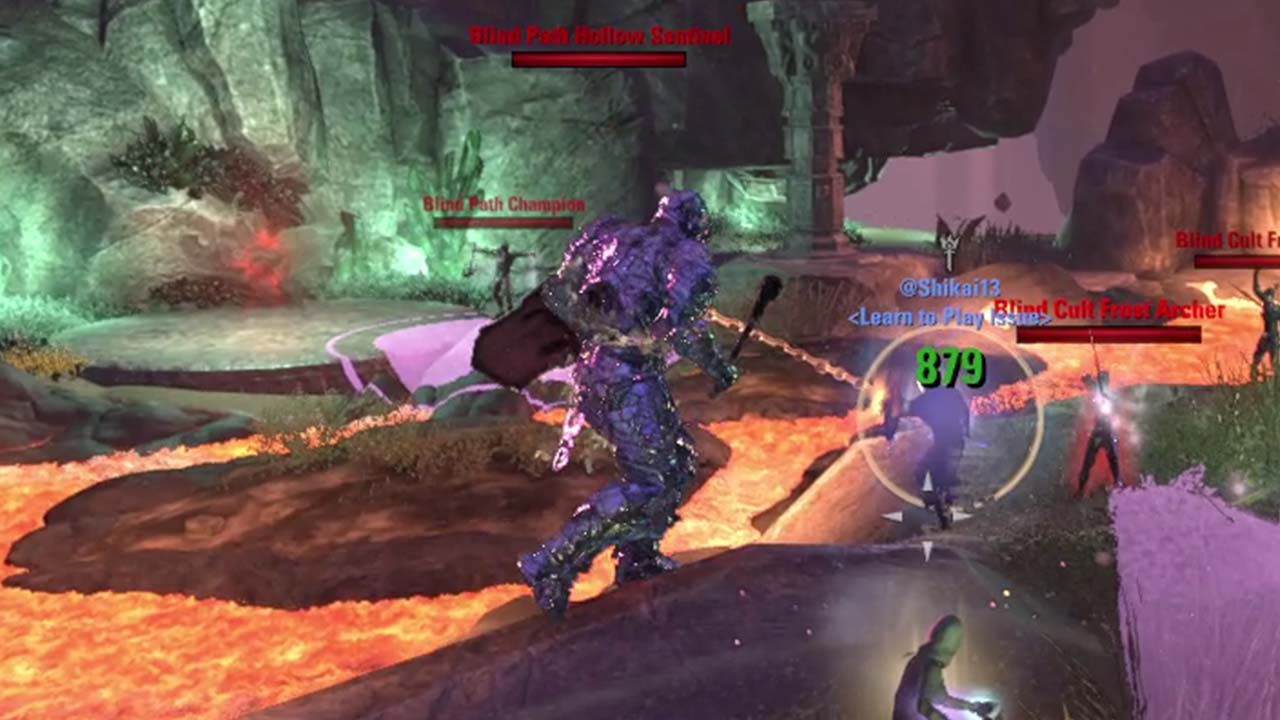
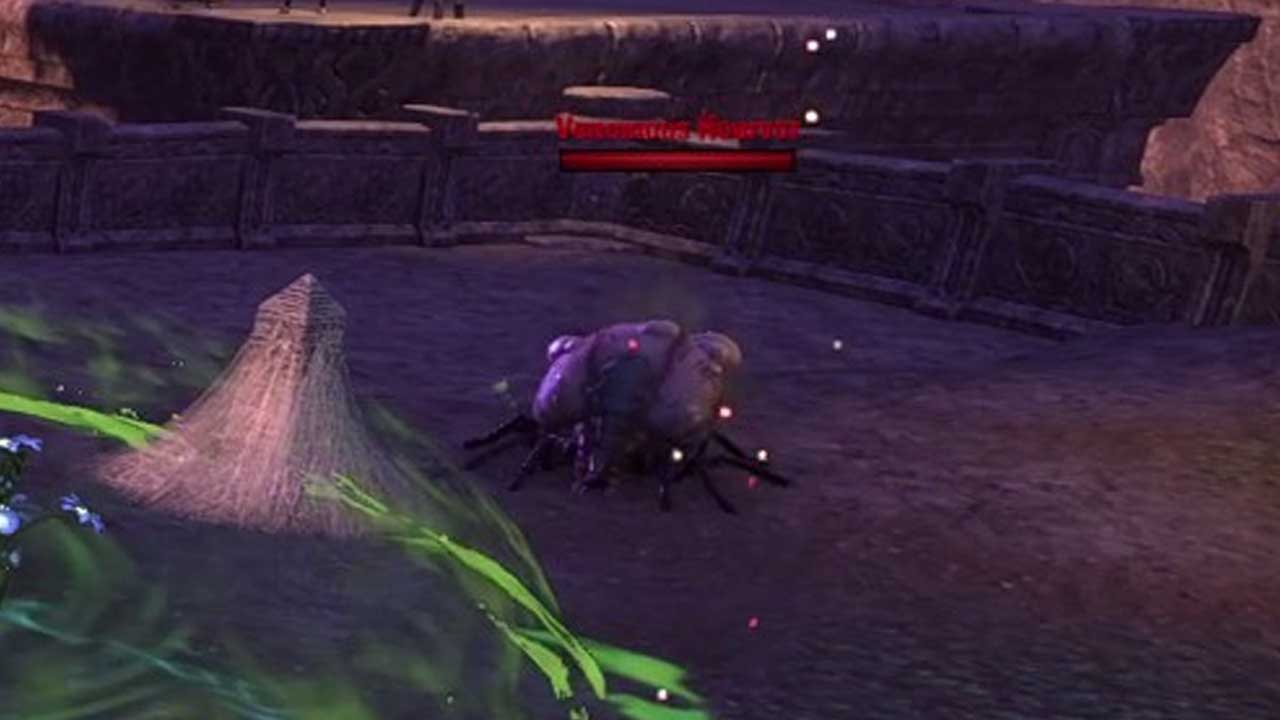
Blind Path Hollow Sentinel
Heavy Attack puts a debuff on the tank called Hindered. Tank can dodge roll the Heavy Attack and avoid it. Hindered is a healing absorption debuff which can not be cleansed so the tank needs to be healed for 24,5k for the debuff to be removed. Block or dodge when he throws the shield and also when it returns.
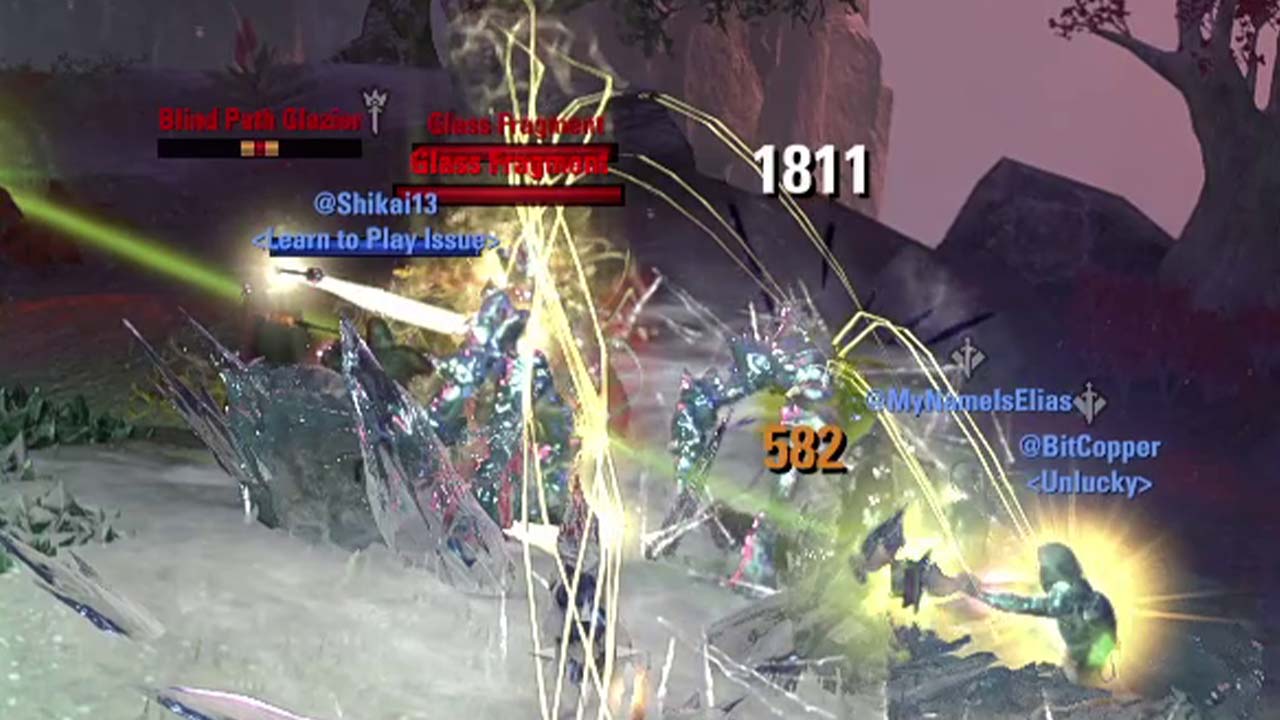
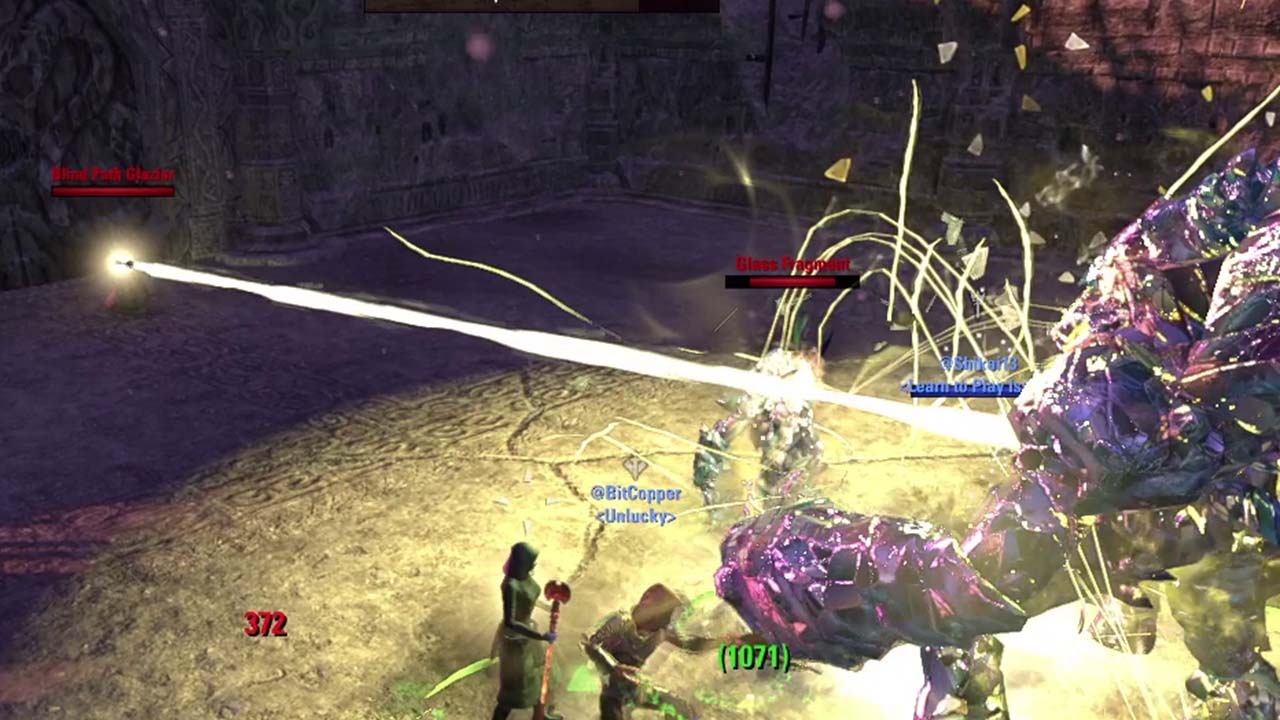
Blind Path Glazier
Focus Blind Path Glaziers first as they cast a channeled Reinforcement skill which makes their channel target immune to damage. You can chain the add which interrupts their channeling as normal interrupts do not work.
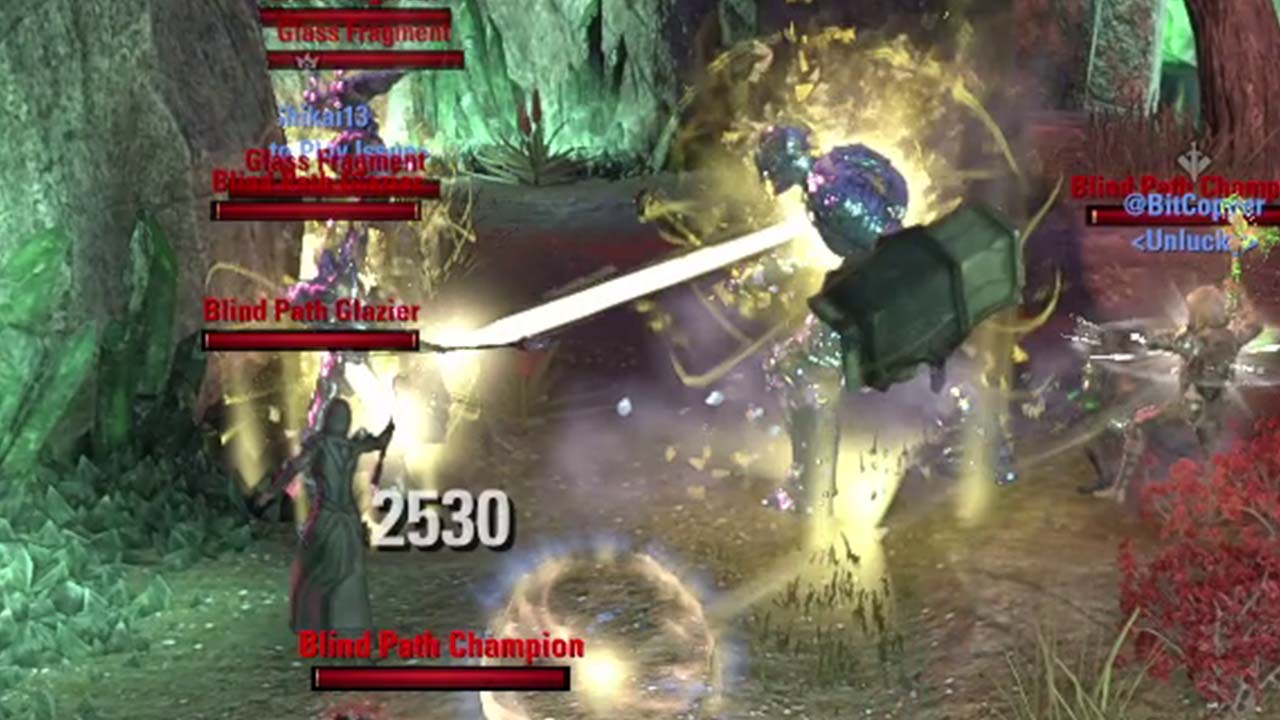
Glass Fragment
They cast a Blinding Salvo skill which does increased damage. You can chain the add which interrupts their channeling as normal interrupts do not work. You can block the damage.
Obelisks and Hoarvors
Trash between the first boss Shattered Champion and the second boss Darkshard will show the Arena 6 Maelstrom Mechanic. The obelisks are unwebbed by killing a hoarvor on top of it which will stun all the adds for a period of time.
Bosses, Treasure Chests & Heavy Sacks on the Map
Special Buffs – Charms
Each Charm gives you and your group an advantage for the end boss: The Blind
Zephyrys Obscuris: When backed up against a barrier, you can destroy threats to the barrier and protect the land in front of you from additional attacks for a few seconds. Shares a cooldown with other magical protection charms.
Ocular Disperser: Protect yourself from hazardous waves and watch as they part before you. Shares a cooldown with other magical protection charms.
Catatonic Disruptor: Force your attackers to the ground with a strong gravitational pull. Shares a cooldown with other magical protection charms.
Bedlam Veil Bosses
Below you can find a list of all the bosses in Bedlam Veil Dungeon in ESO. You can also see how much health each boss has.
| Boss | Health | Adds |
|---|---|---|
| Shattered Champion | 5,413,503 / 8,120,255 | Blind Path Glazier, Glass Fragment |
| Darkshard | 3,383,439 / 5,075,159 | Argonian Behemoth, Champion of Atrocity, Maxus Elementalist and their own adds |
| The Blind (Endboss) | 9,750,790 / 16,088,804 | Blind Shard, Glass Remnant, Mirrorplasm |
Bosses
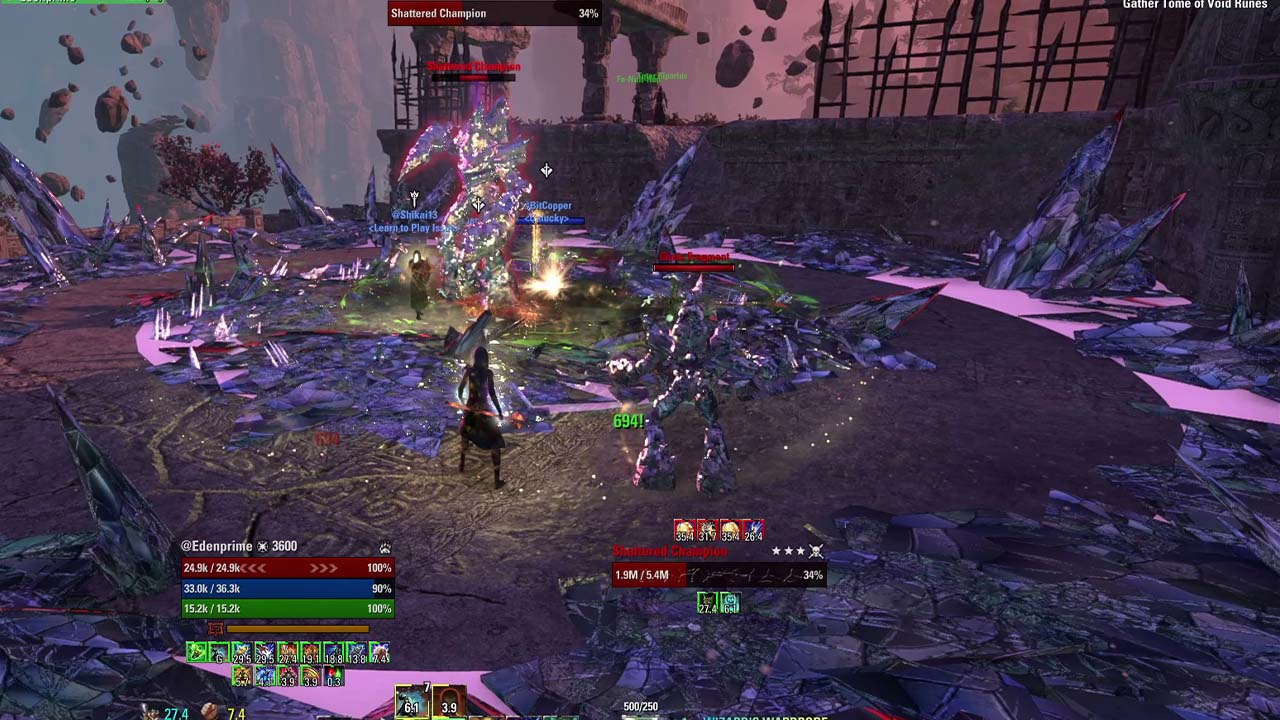
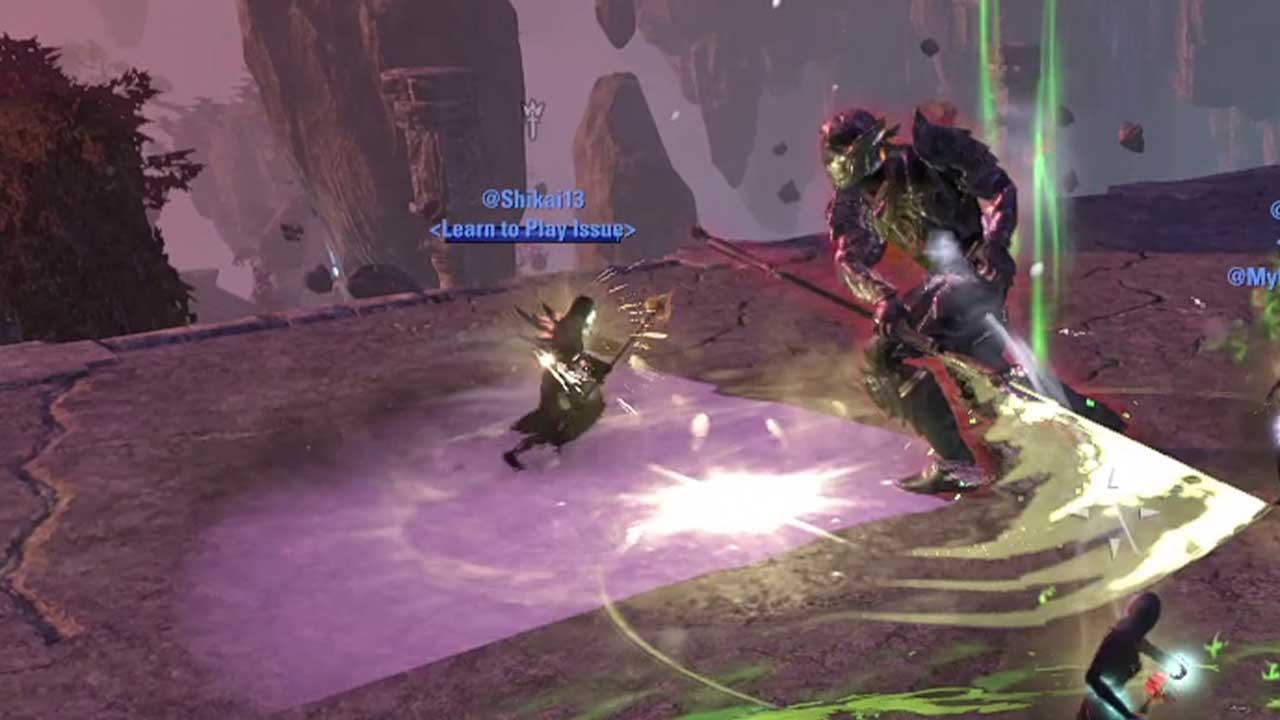
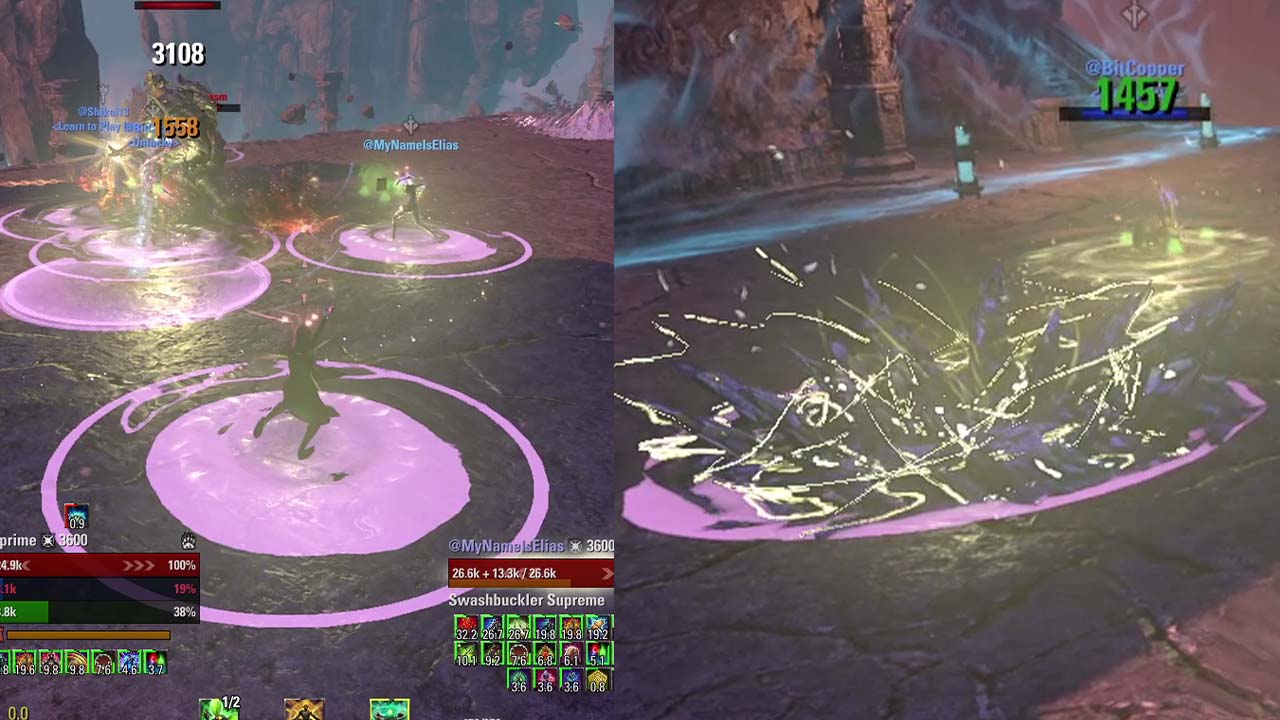
Boss 1 – Shattered Champion
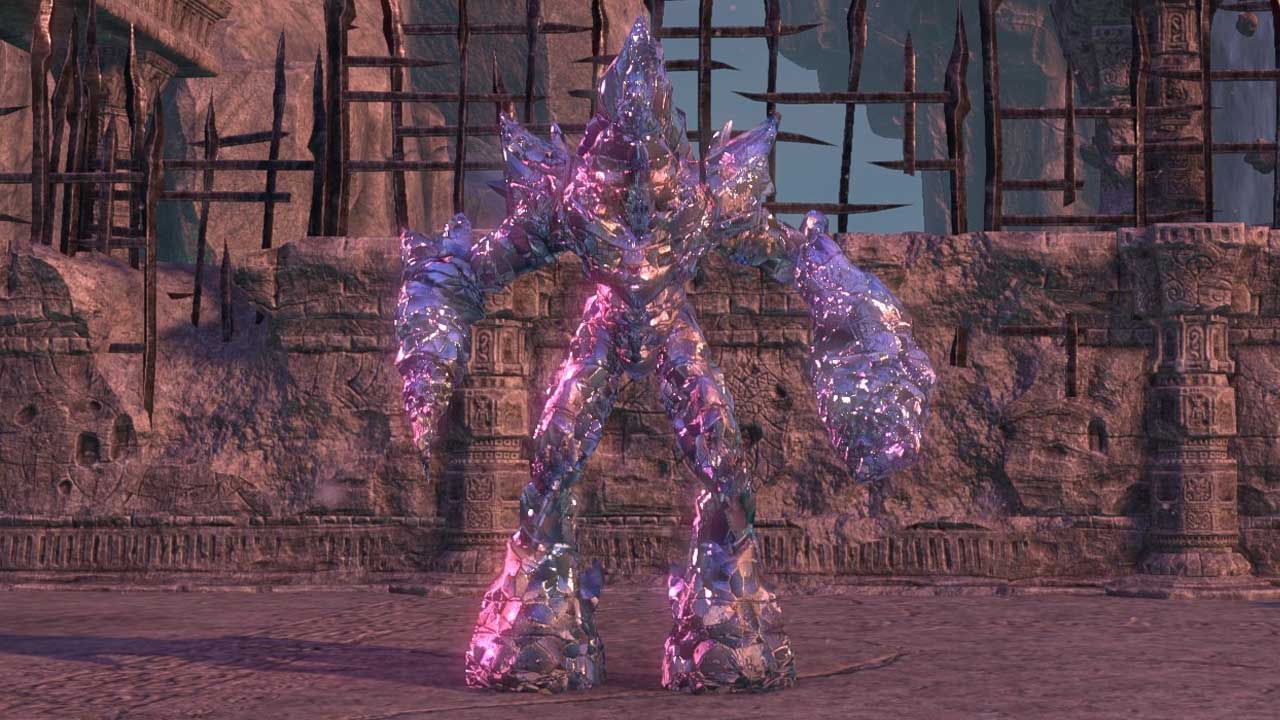
You will fight this glass Atronach in a small arena. There will be a hard hitting DoT, loads of AOEs on the ground and adds that spawn throughout the fight. Hardest part of the fight is for the tank to survive the Hindered Healing Absorption debuff with all the other damage.
Tips
- Tank the boss in the middle.
- Chain all the adds to the middle.
- Blind Path Glazier adds should always be the priority as they can make the boss and other adds immune to damage.
- Every skill and AOE the boss does will apply the Gaping Wound debuff which does a lot of damage so be sure to bring a healer or loads of cross healing with skills like Echoing Vigor.
- You can dodge the glass AOE skills to avoid the Gaping Wound debuff.
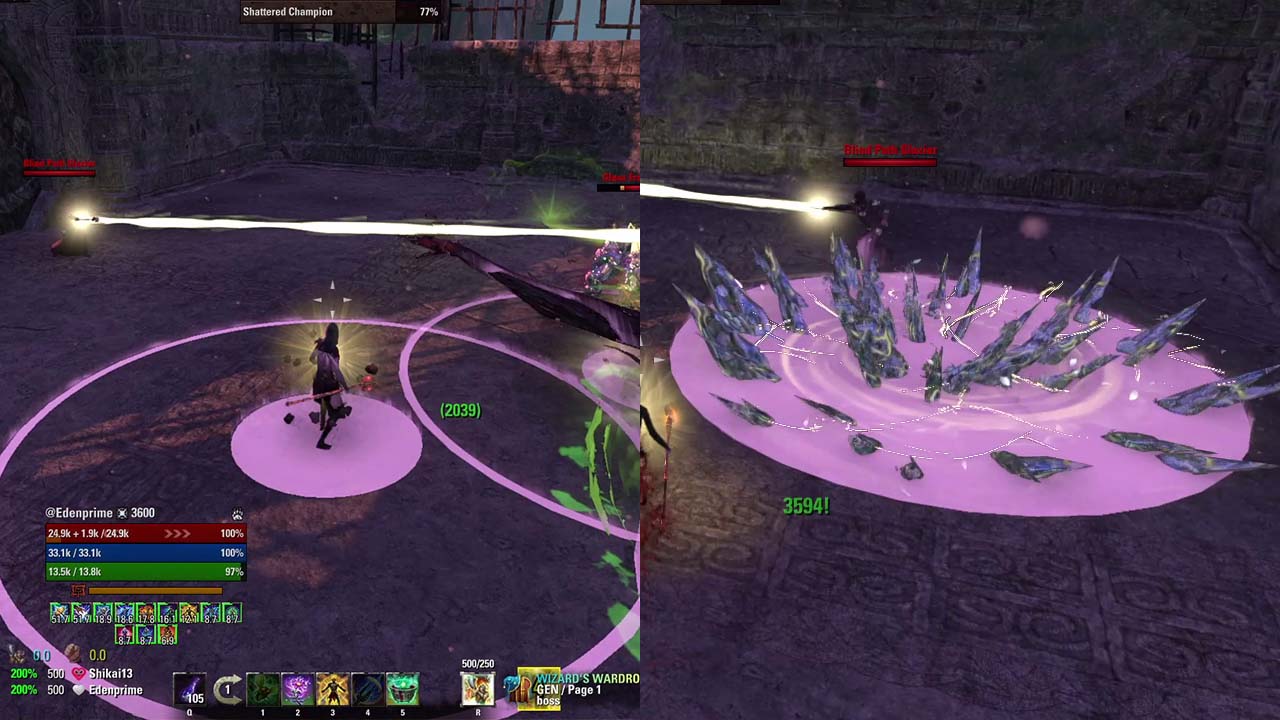
Sharp Glass: Boss drops glass on each player telegraphed by a large round AOE under their feet. Move this as far away from the center as possible as it will leave an AOE on the ground. You can dodge the Sharp Glass as it lands, it won’t stun.
Crushing Shards: A Heavy Attack that applies the Hindered debuff on the tank. If you dodge, the boss gets Enraged and does more damage. Hindered is a healing absorption debuff which can not be cleansed so the tank needs to be healed for the debuff to be removed.

Glazier: Boss teleports to the middle, stomps the ground and creates a ring of glass, first on the outer edges, then one in the middle. Healer should stand between the outer and middle layer so there is enough room for the tank and DDs to drop the Sharp Glass skill. Tank and DDs should stand inside the middle ring. You can dodge through the glass if you’re on the wrong spot.
Gaping Wound: A hard hitting DoT that does Oblivion Damage (can not be shielded or mitigated in any way). All of the bosses skills apply the DoT.
Shard Bash: Boss summons an AOE around itself after smashing the ground, DDs should move from the middle until the AOE dissipates.
Glass Fragment add: Taunt or chain these adds to the middle as they start casting Blinding Salvo skill which shoots little glass balls to random players and does increased damage. You can chain the add which interrups their channeling as normal interrupts do not work. You can block the damage.

Blind Path Glazier add: Focus Blind Path Glaziers first as they cast a channeled Reinforcement skill which makes their channel target immune to damage. You can chain the add which interrups their channeling as normal interrupts do not work.
Hard Mode
All mechanics are the same, they just hit harder. In Veteran mode Shattered Champion has 5,413,503 health and in Veteran Hard Mode it has 8,120,255 health.
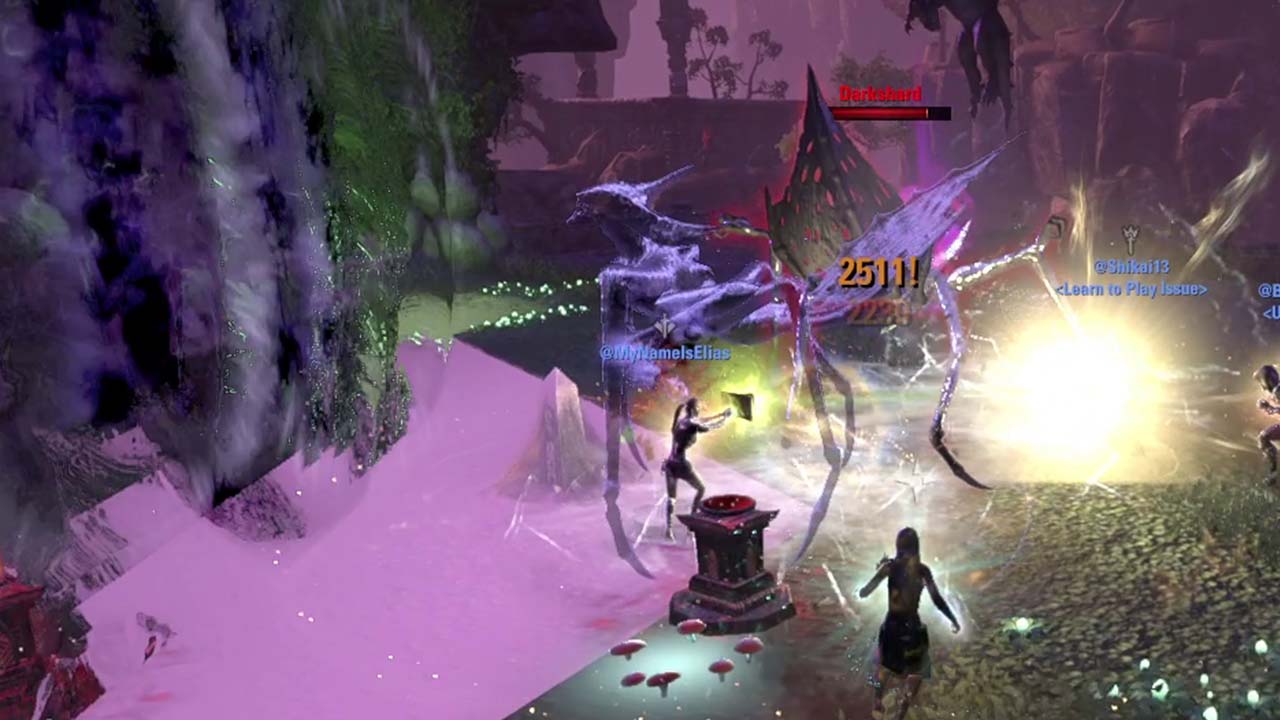
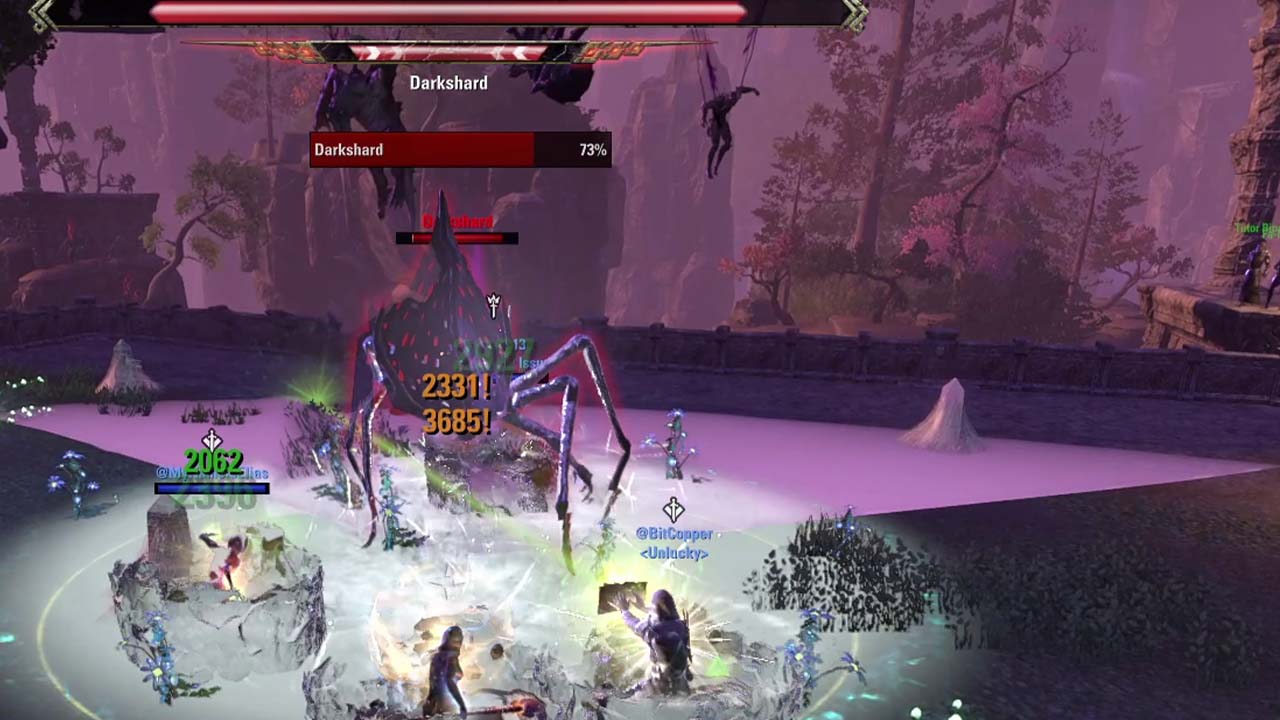
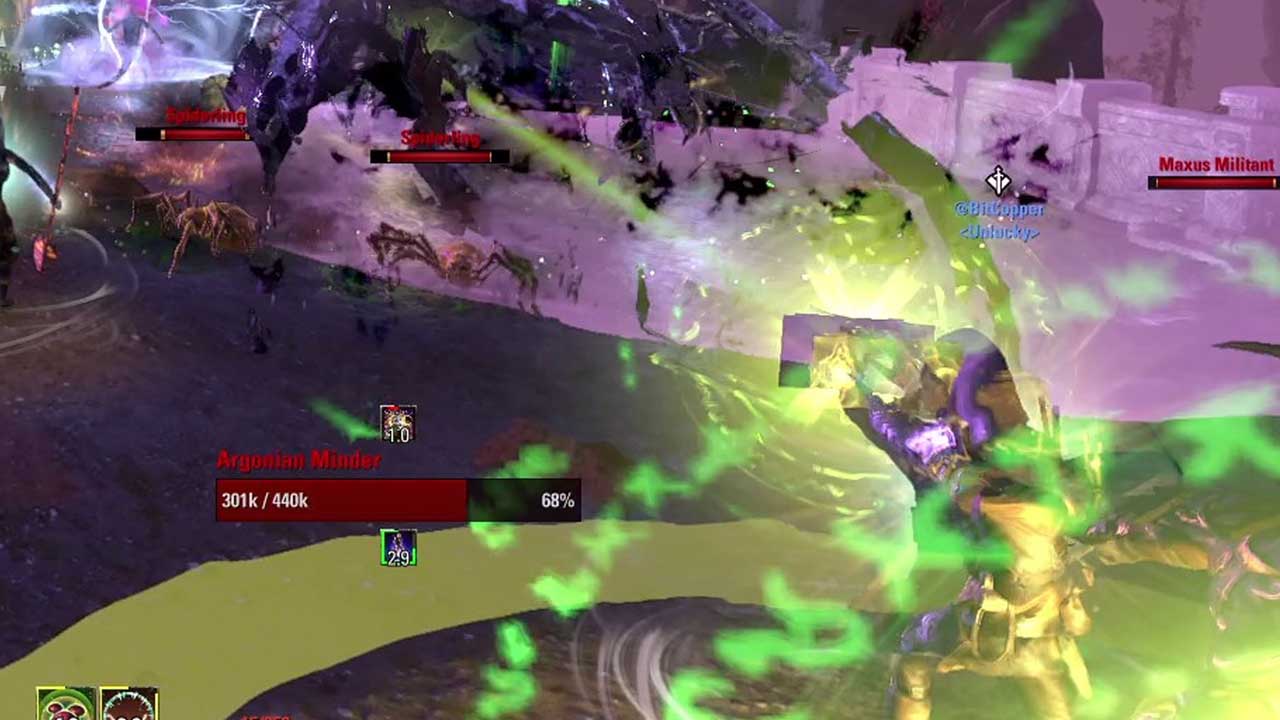
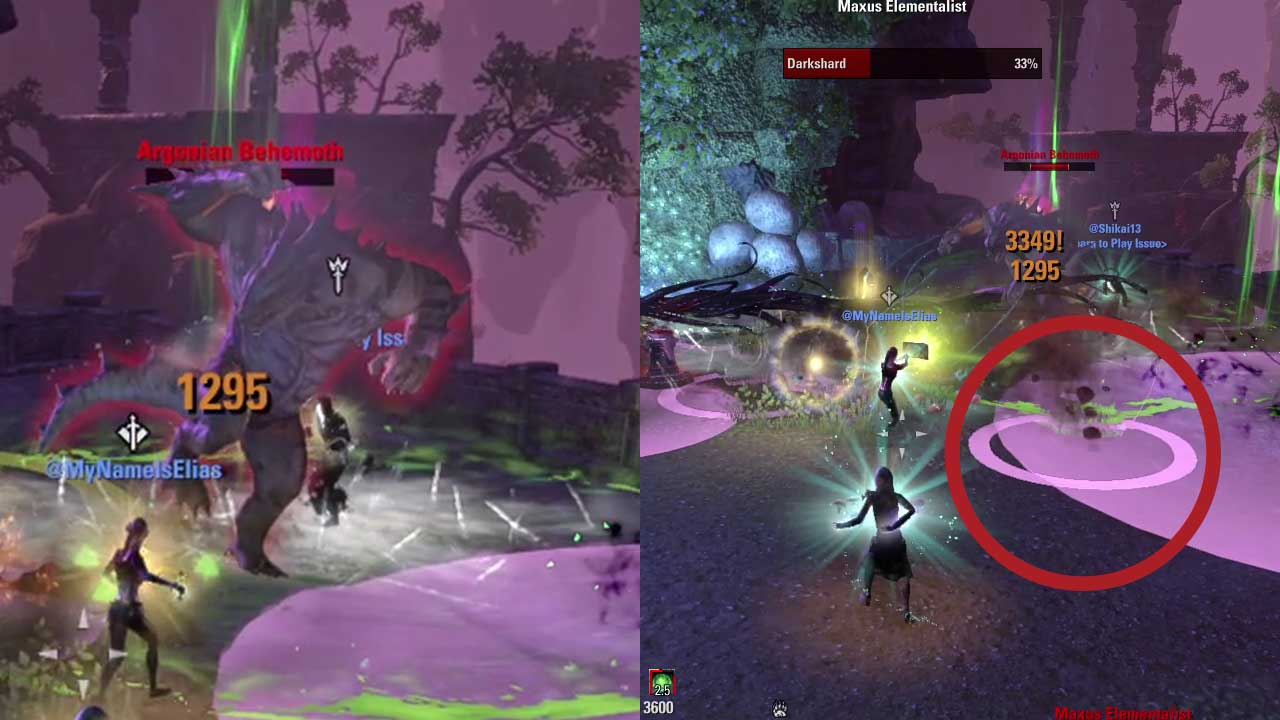
Boss 2 – Darkshard

You will fight a nightmare type boss called Darkshard which releases three mini-bosses at 80%, 60% and 40% health. Darkshard teleports away while you fight the mini-bosses. Mini-bosses summon their own adds and even when the mini-boss is killed, their adds will keep spawning for the rest of the fight. If you’re acquainted with Maelstrom Arena, you’ll be familiar with all the mechanics of these mini-bosses.
Tips
- Tank the bosses under the three hanging mini-bosses so they can be easily taunted when they’re released at 80%, 60% and 40% health.
- If you struggle with the Volatile Plants poison, you can tank the boss between cleansing pools.
- Tank should chain smaller adds to the main boss.
- Keep at least two obelisks unwebbed in case one gets webbed just before the spiderling mechanic.
- If you have loads of damage, you can burn the bosses and ignore most of the mechanics. Just make sure you have unwebbed obelisks for the spiderling mechanic.
Darkshards shade: A copy of the boss will appear and cast the same skill as the main boss, but at a random direction/player instead of the tank. The shade can not be targeted and can be hard to see.
Grasping Scream: Darkshard sends purple bolts to each player and stuns them while casting a large round AOE around it. Break free and move away from the AOE.
Terrorizing Strike: A Heavy Attack on the tank which when copied by the shade will need to be blocked by a DD or Healer. It can also be dodged, but the attack is very delayed so it’s safer to block.
Feast: A frontal conal attack that does moderate amount of damage and applies a snare to anyone standing inside it.
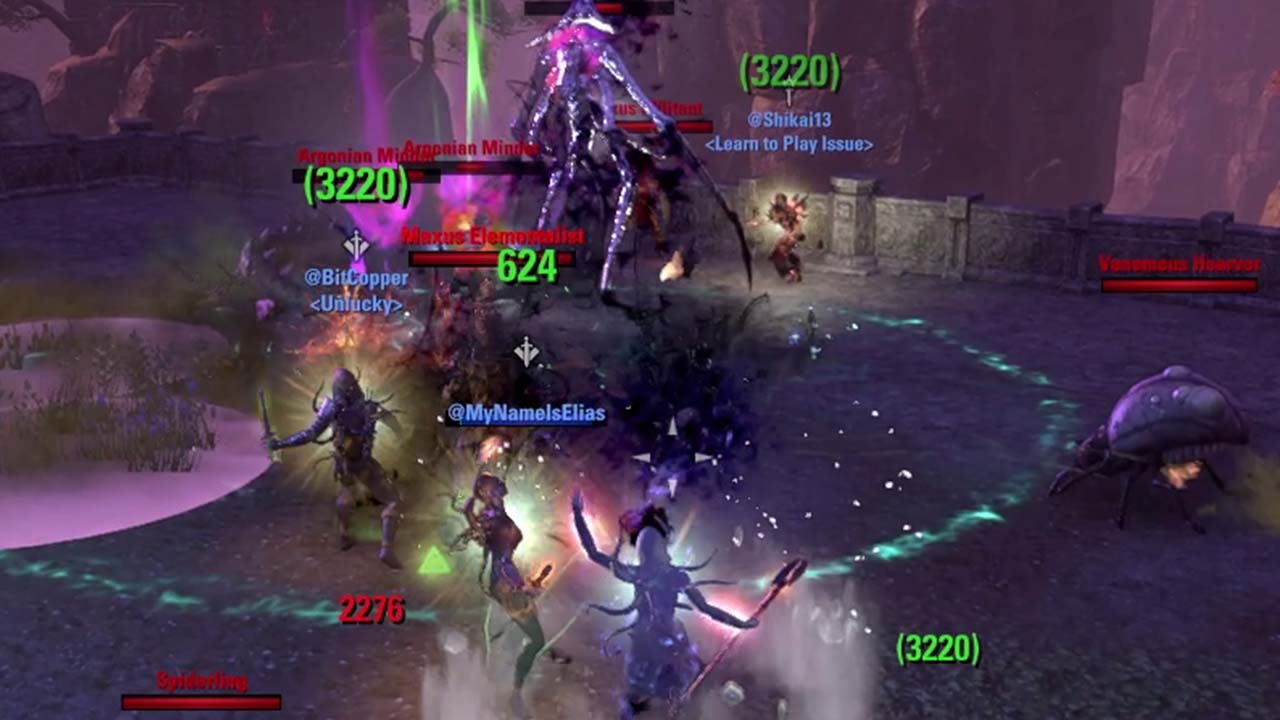
Maxus the Many
Released when Darkshade reaches 80% health.
Multiply: Maxus the Many clones himself into two different types of adds.

Entropic Bolt: Light Attack which does a lot of damage to the tank even when blocked.
Necrotic Orb: An orb will follow a player damaging and snaring them. Keep moving until it disappears.
Maxus the Militant add: A melee Dragonknight which uses Lava Whip, Fiery Breath and has the ability to self-explode for a substantial amount of damage.
Maxus the Elementalist add: A ranged Sorcerer that teleports to a player and casts a Thunder Thrall AOE underneath them, inflicting substantial damage to players standing inside. Has the ability to self-explode for a substantial amount of damage.
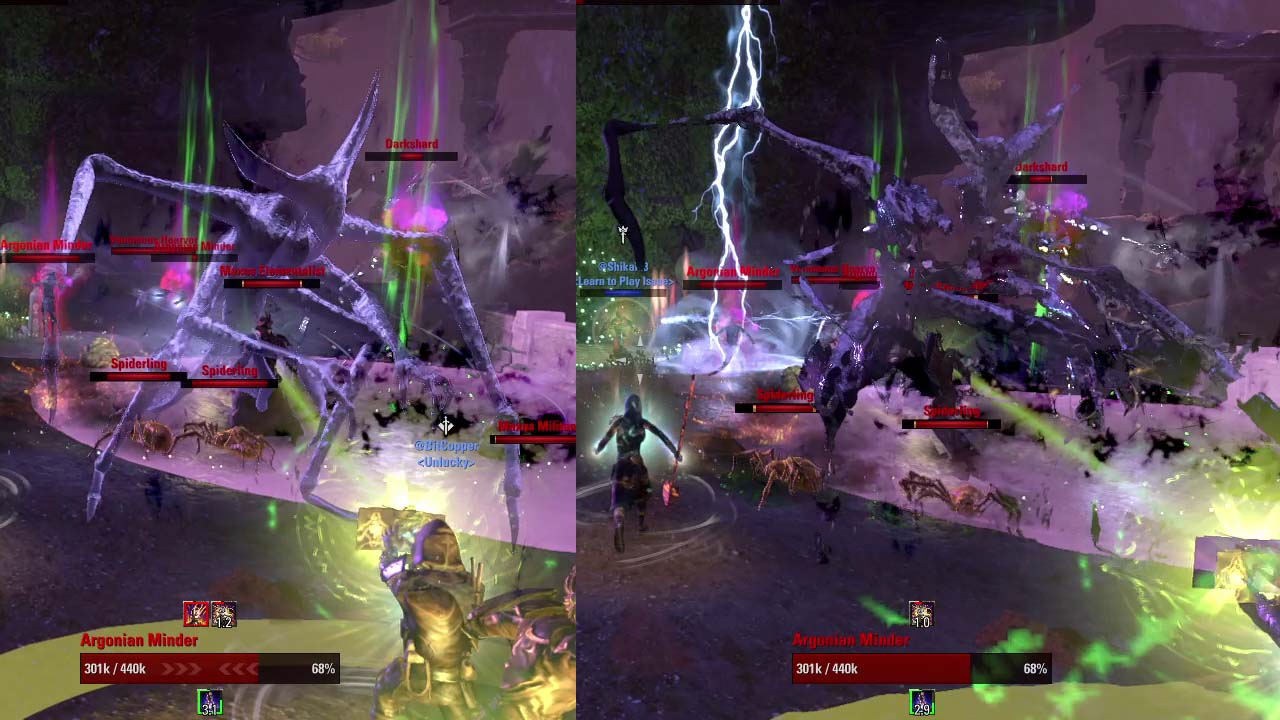
Champion of Atrocity
Released when Darkshade reaches 60% health.
Daedric Explosion: Large AOE explosion underneath the boss inflicting substantial damage to players standing inside it.
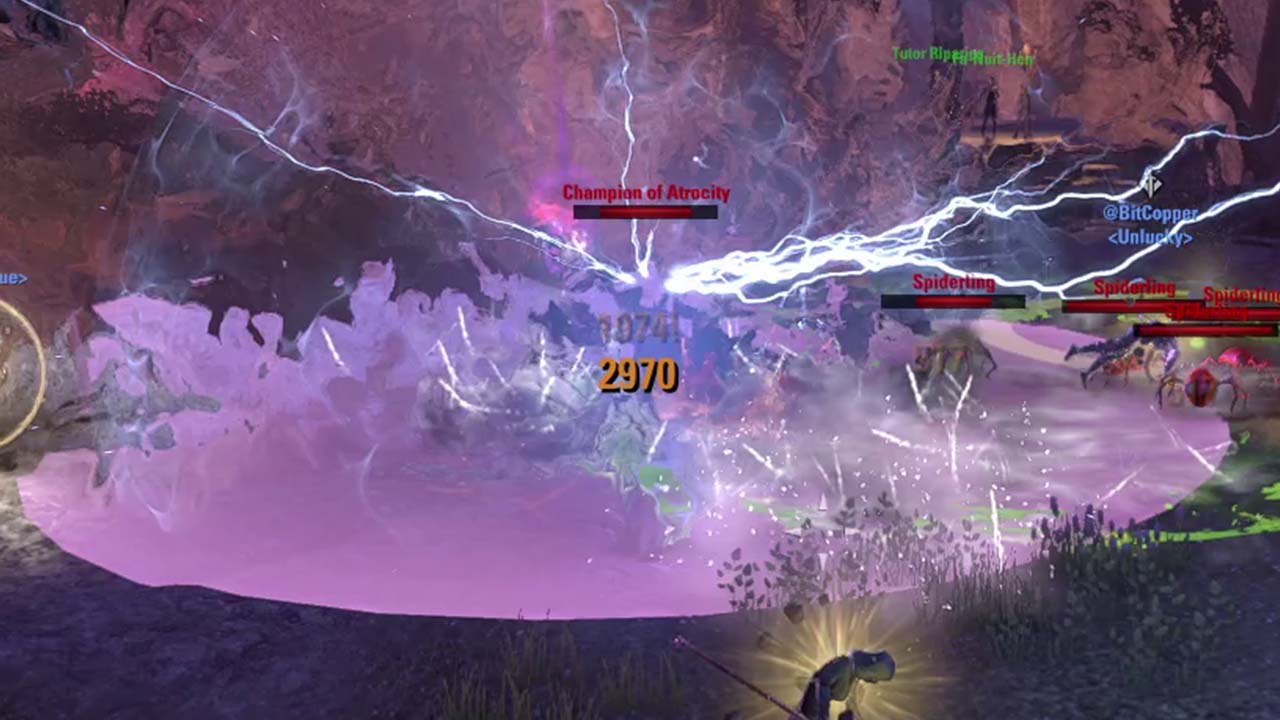
Call Lightning: A small lightning AOEs pawns underneath a player multiple times. Keep moving to avoid the damage.
Enrage: The boss will enrage turning red and gaining resistances. You can either burn the boss down or use the Obelisks (explained below) to stun her and remove the enrage.
Obelisks: There are five webbed Obelisks around the room. Un-webbing all five Obelisks will stun the Champion Of Atrocity and remove it’s enrage buff(s). Keep at least two obelisks unwebbed in case one gets webbed just before the spiderling mechanic.
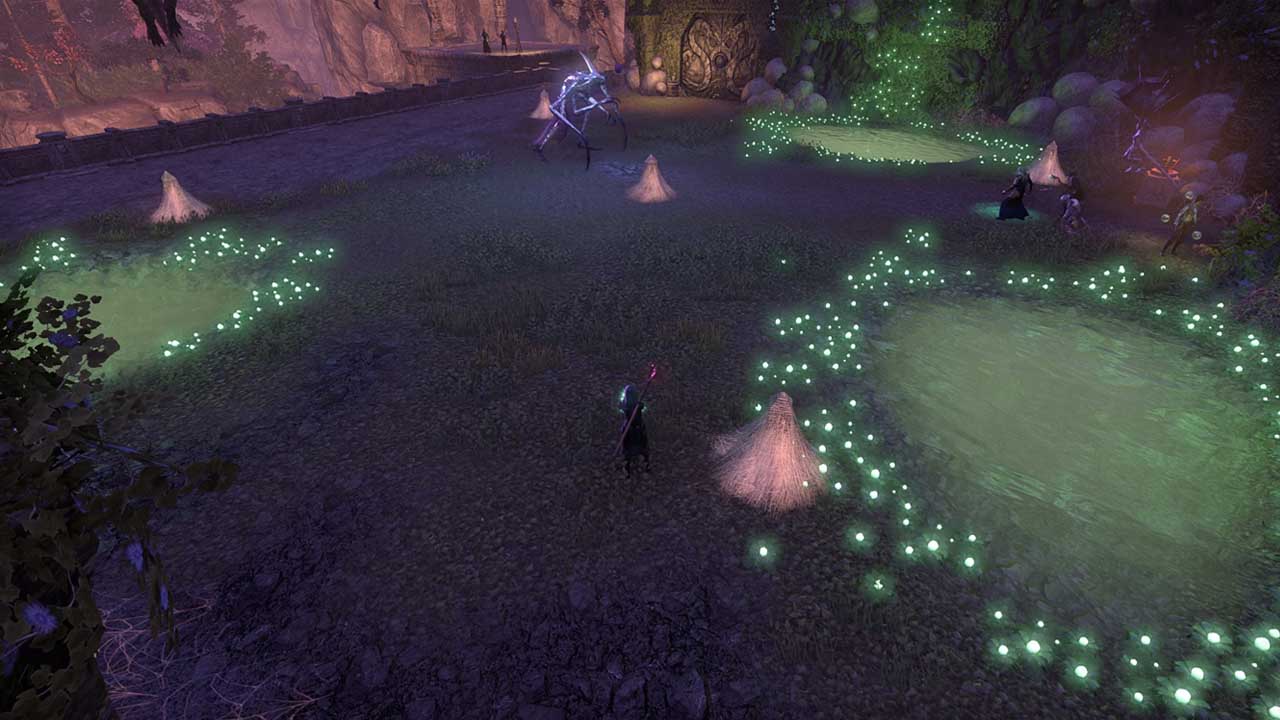
Venomous Hoarvor add: You can un-web Obelisks by killing a Hoarvor close to it. If you kill a Hoarvor away from an obelisk, they will drop a poison grenade synergy that can be thrown at an Obelisk.
Spiderling add: A swarm of spiderlings will spawn and chase a player. Run to an obelisk that is glowing golden as the light will make the Spiderlings disappear.
Webspinner add: Will try to cover an Obelisk in web. Kill them as soon as possible.
Void Lurcher add: Will aggro to the player nearest to their X shaped portal so be ready to dodge roll as the Lurcher will complete their Heavy Attack on their chosen player even if the tank taunts them during it.
Spider Daedra add: Spits Sticky Web at players which slows the player down the more Sticky Web stacks they have.
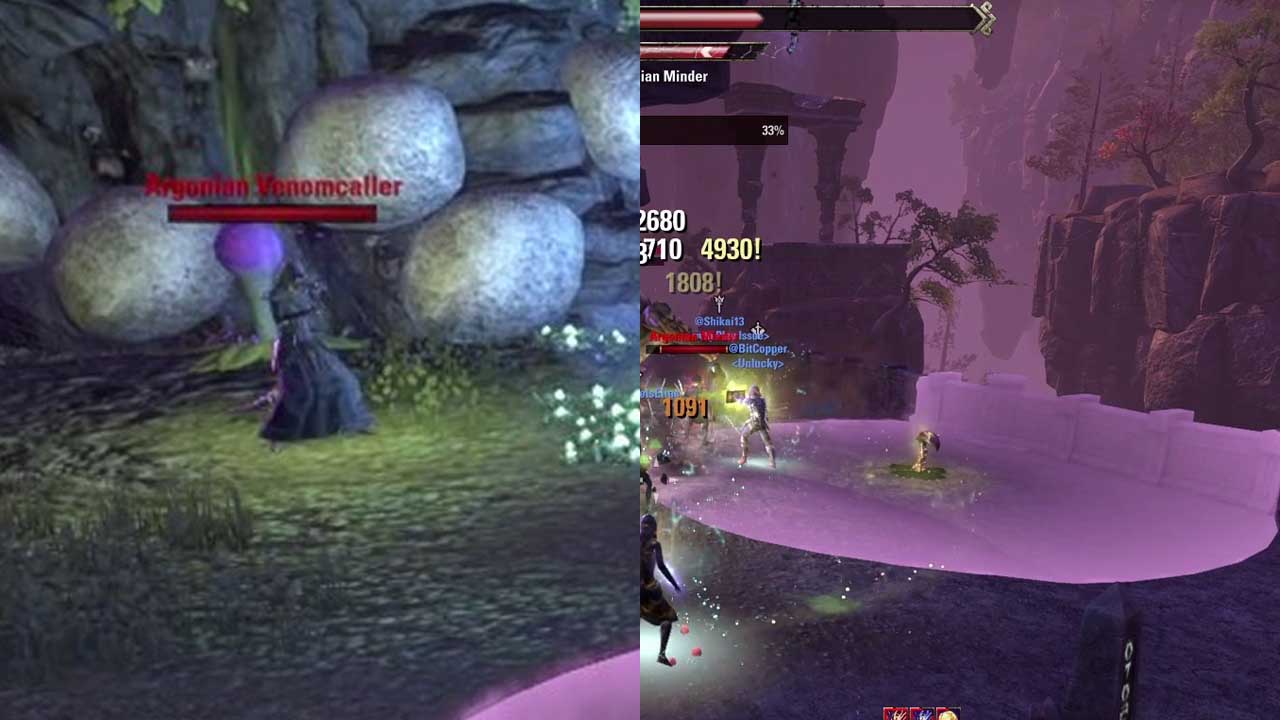
Argonian Behemoth
Released when Darkshade reaches 40% health.
Lingering Spit: Boss spits at a player, leaving behind a small area of effect (AOE) on the ground.
Staggering Stomp: Boss stomps the ground and sends out stone shockwaves in all directions from himself.
Argonian Venomcaller add: Will appear on one the edges of the area and start casting a Rupturing Fog which will cause the Volatile Plants to explode.
Argonian Minder add: If the boss does an Enraged Scream, you can stay inside the Argonian Minders shield to avoid the damage.
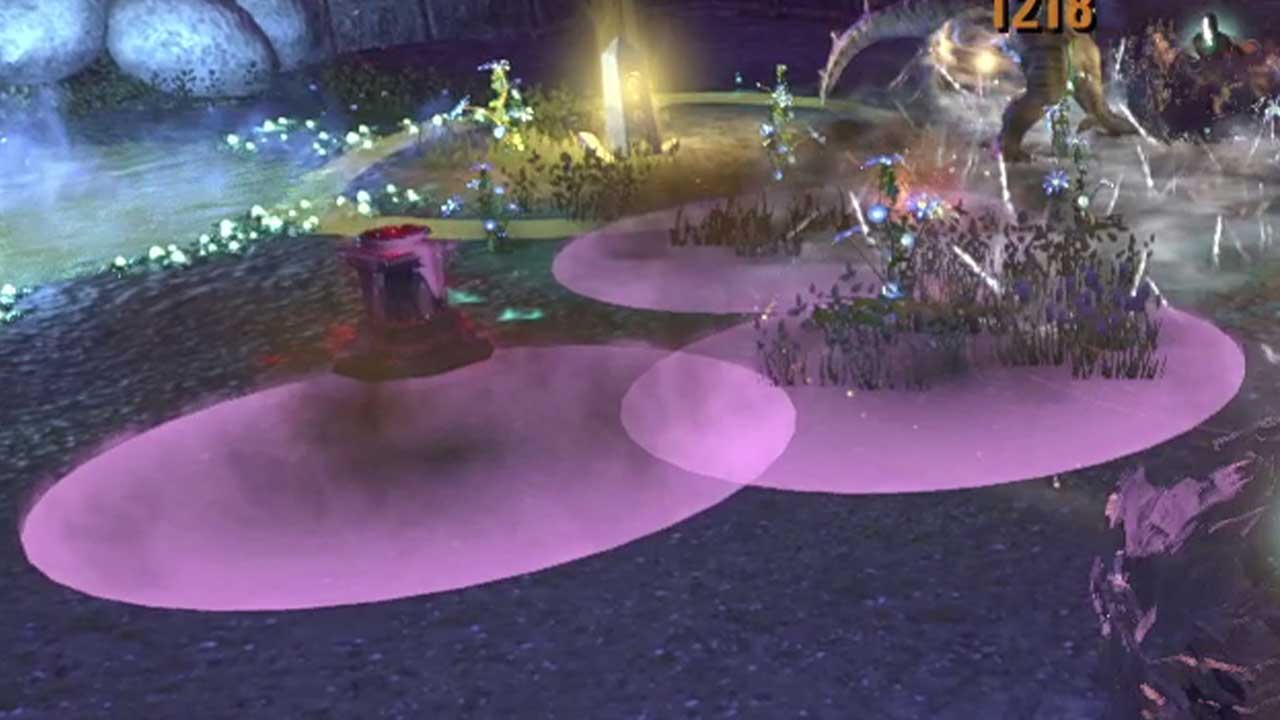
Volatile Plant: The turn deadly when the Argonian Venomcaller spawns and causes them to explode. If you stay inside the plants explosion you will get a hard hitting Volatile Poison DoT which will kill you unless you cleanse it by running to a Cleansing Pool.
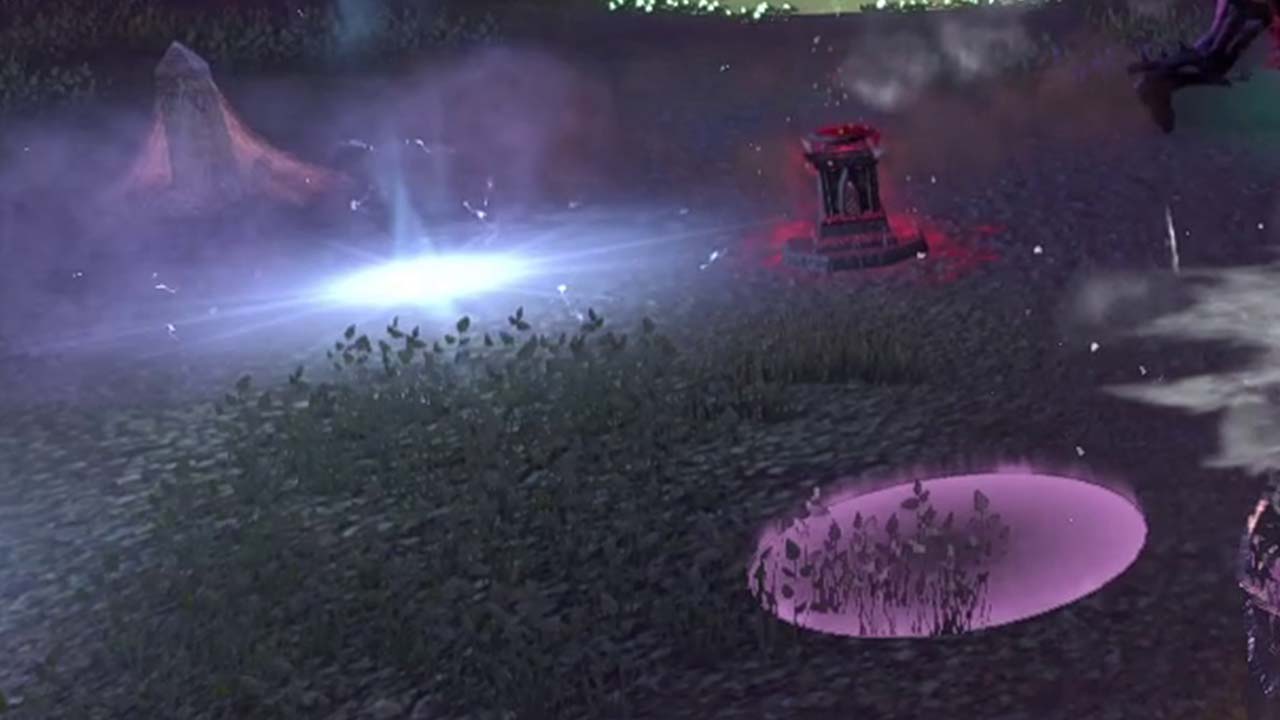
Cleansing Pools: The Room has four cleansing pool which you can use to cleanse the Volatile Poison DoT. Usable cleansing pools have a bright blue glow after The Argonian Behemoth has been released.
Hard Mode
All mechanics are the same, they just hit harder. In Veteran mode Darkshard has 3,383,439 health and in Veteran Hard Mode it has 5,075,159 health.
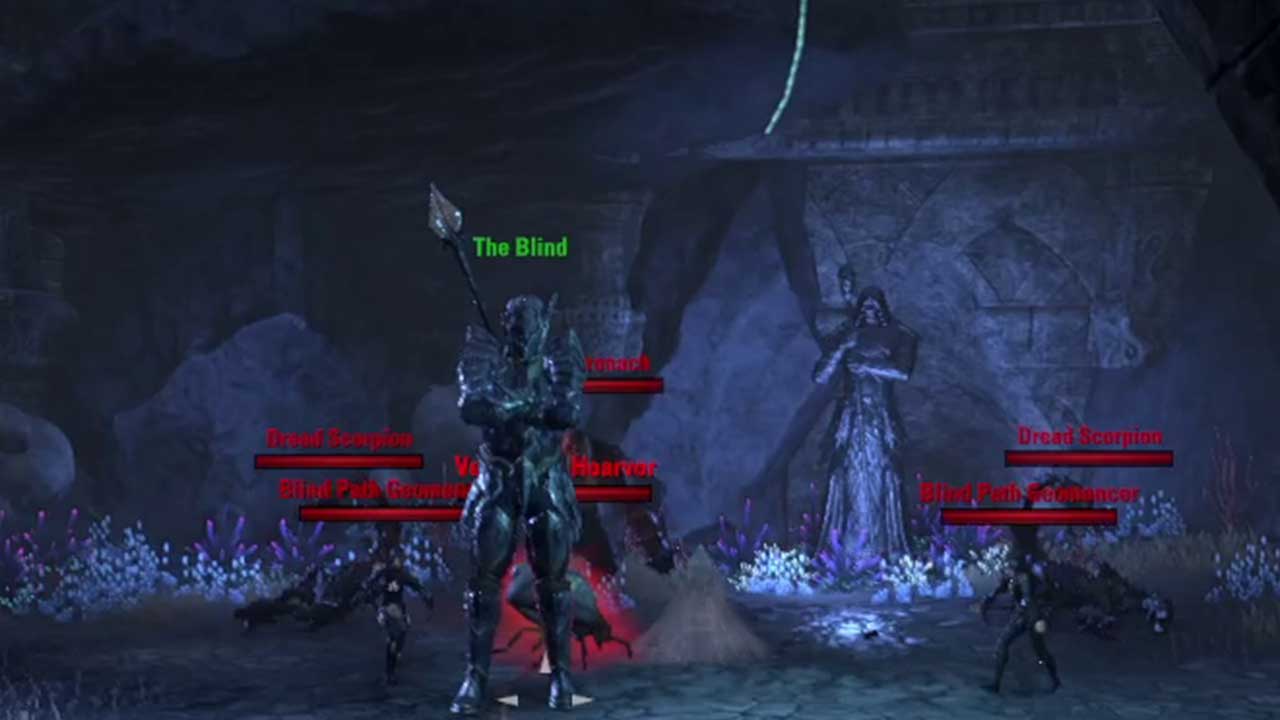
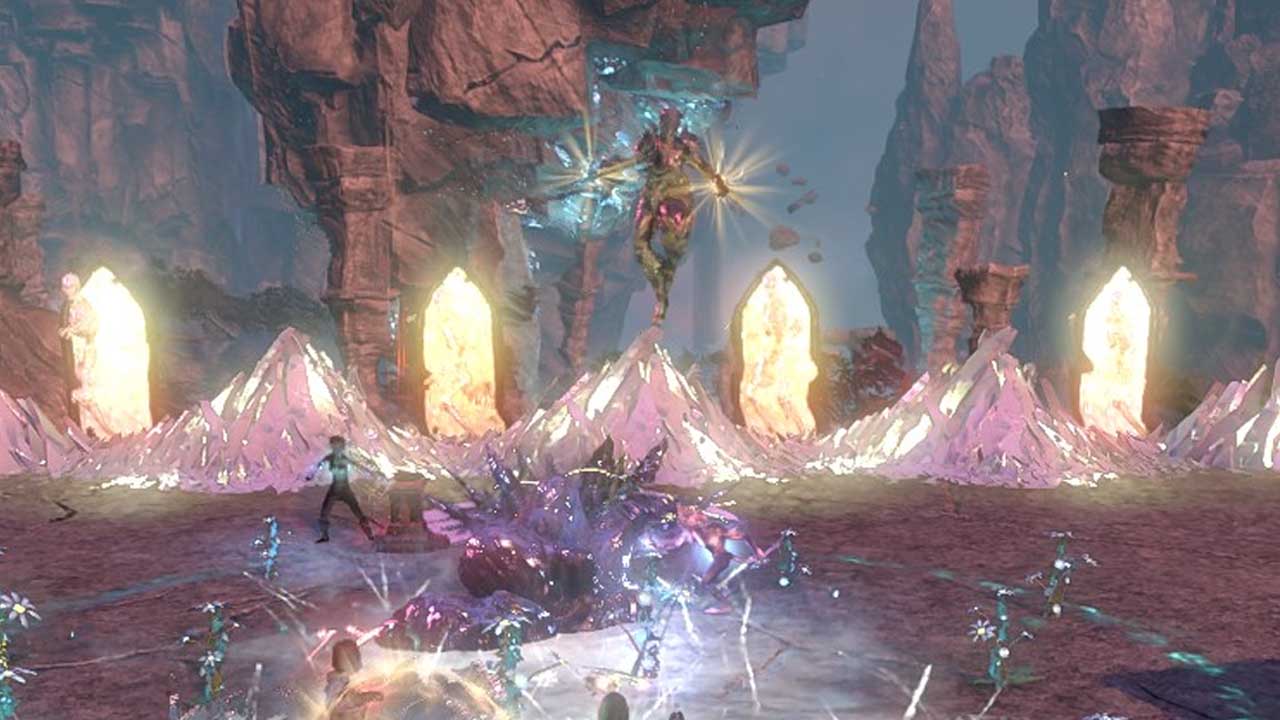
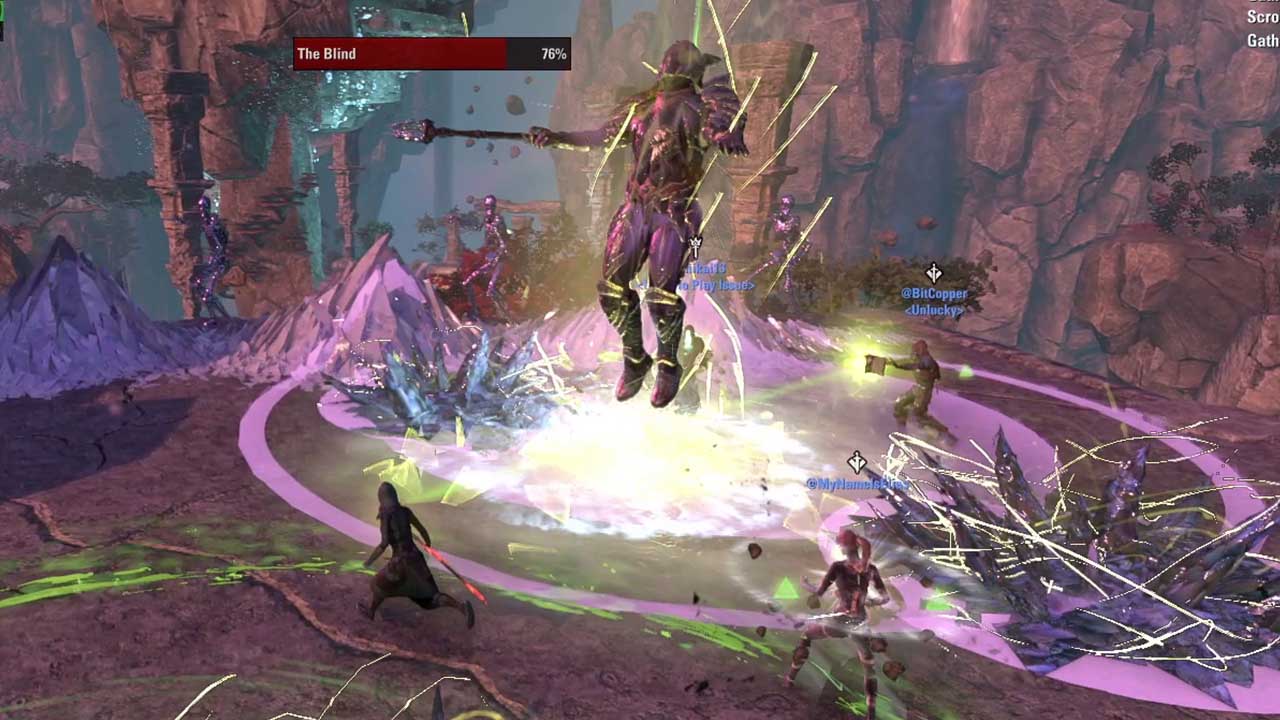
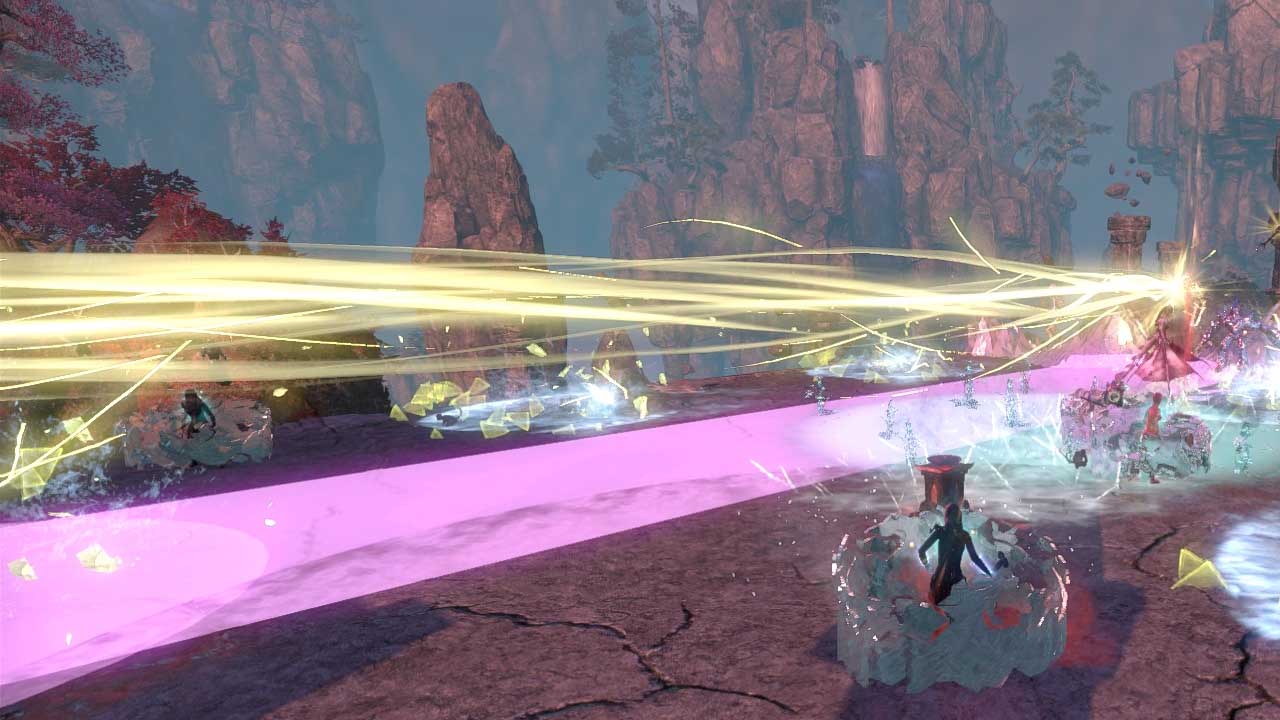
Boss 3 – The Blind (End Boss)
The fight has a significant amount of AOE and you will have to move around and switch positions constantly or dodge through the mechanics. The boss doesn’t create many new mechanics through the fight but it will increase the amount of each mechanic every 20% of its health.
Tips
- The hardest part of the fight is watching the arena around you for safe spots.
- Tank can take the damage from the Gleaming Deluge waves and just have their back facing the Blind Shards.
- DDs and Healer should keep their camera pointed towards Blind Shards to see the waves better and plan where to move and always stay behind the boss.
- Utilize the puzzle synergies to make the fight easier.
Smack: Boss’s light attack which also has an AOE cleave in front of it.
Malediction: Each player gets a small AOE telegraphed under their feet and after a few seconds a Malediction AOE will spawn under their feet. Move away from the boss as soon as you see this and dodge when it lands to avoid the damage.
Shard Shift: Every 20% the boss teleports above the glass mounds and adds more mechanics for the rest of the fight. Leaving less and less room to move around
- At 80% Health four Blind Shards are summoned and begin casting their Gleaming Deluge wave skill
- At 60% Health one Blind Shard start casting Piercing Beam and two Glass Remnants are summoned
- At 40% Health two Blind Shard start casting Piercing Beam and two Glass Remnants are summoned
- At 20% Health three Blind Shard start casting their Gleaming Deluge waves more often but stop their Piercing Beam cast
Condemn: Boss levitates for a moment charging his AOE Heavy Attack on the tank which puts the Hindered debuff on everyone standing in it. Hindered is a healing absorption debuff, which can not be cleansed. The tank (and other that stood in the AOE) need to be healed for the debuff to be removed. You can interrupt the cast using the Catatonic Disruptor synergy if you’ve completed the third puzzle.
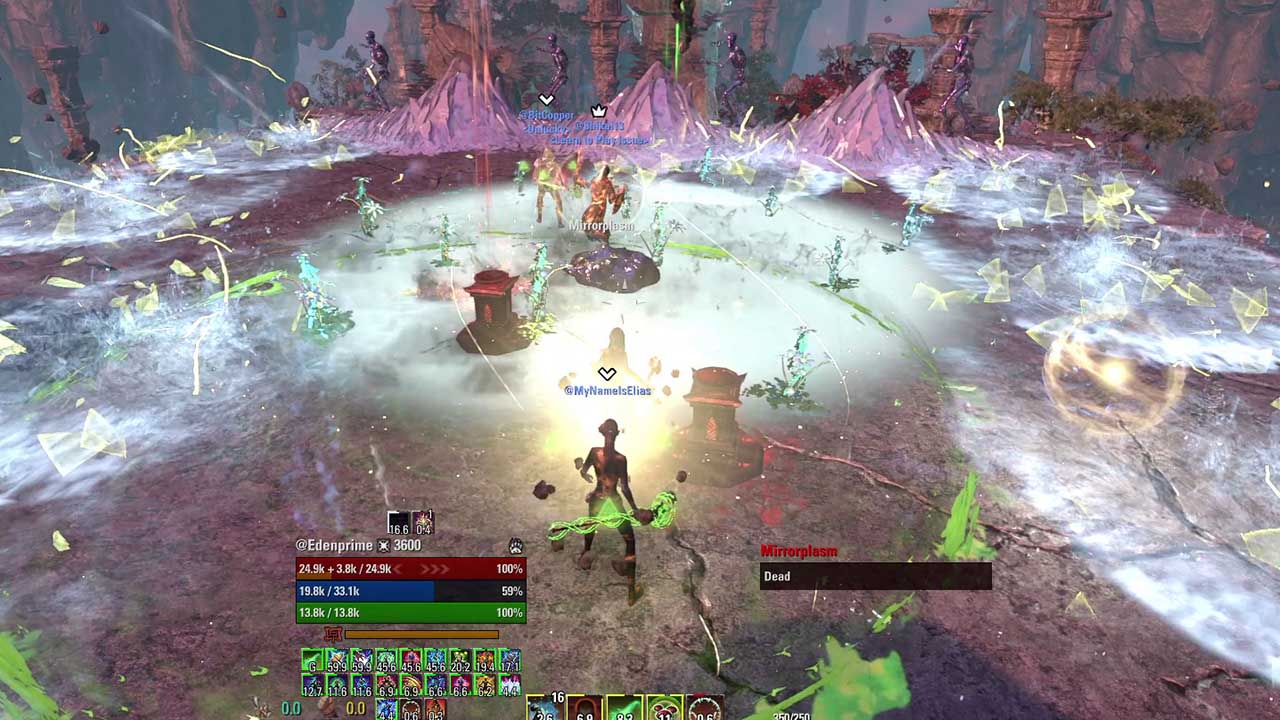
Blind Shard
Gleaming Deluge: Wave like AOE which moves in a straight line from the Blind Shard. You can dodge roll through them. You can use the h the Ocular Disperser synergy to protect yourself from the waves if you’ve completed the second puzzle.
Piercing Beam: A straight beam that the Blind Shard will cast, blocking you from using that part of the area. You can make one “lane” safe with the Zephyris Obscuris synergy if you’ve completed the first puzzle.
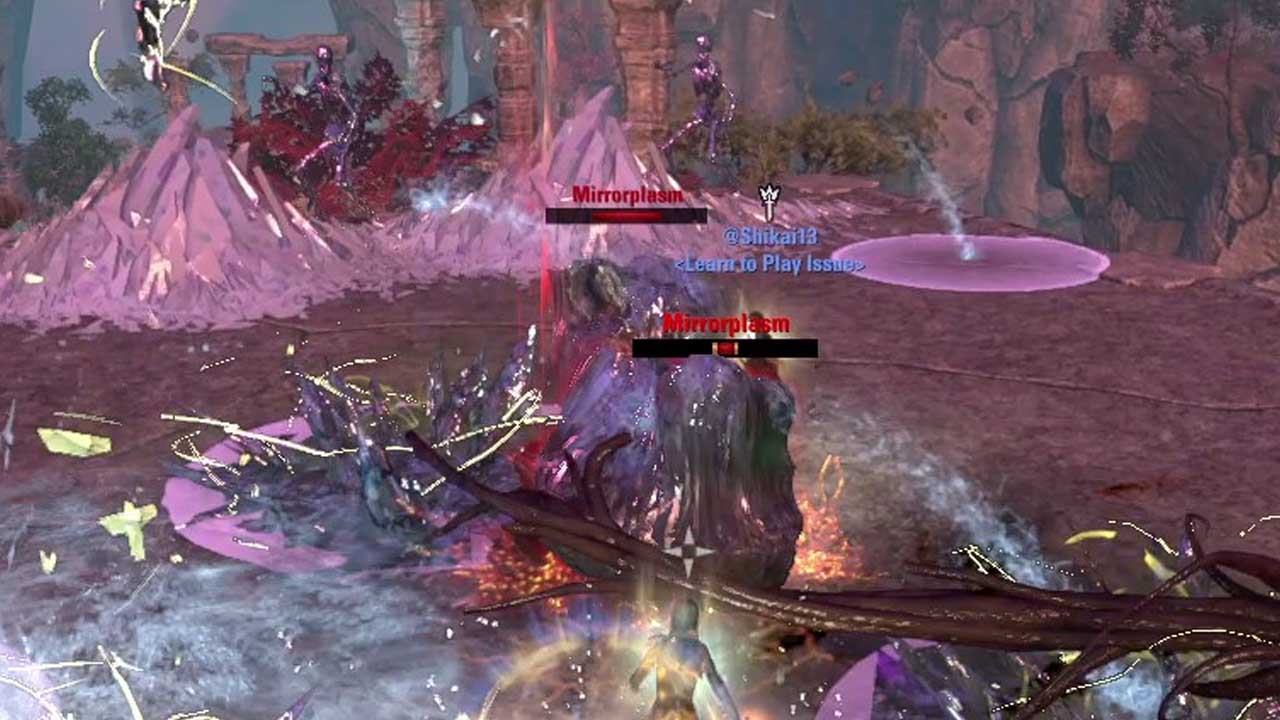
Mirrorplasm
Lustrous Blast: Targets a player and shoots little AOEs under their feet.
Breach: Mirrorplasm levitates and randomly shoots little AOEs around.
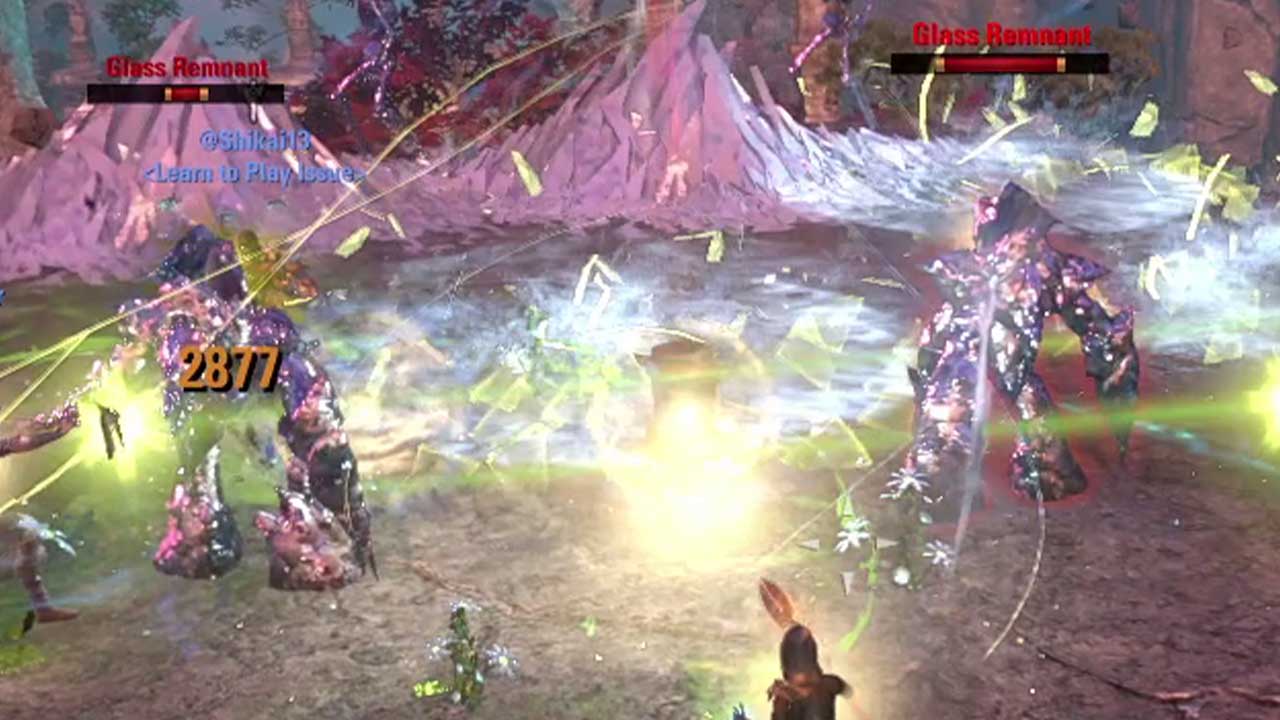
Glass Remnant
A weaker version of the Glass Fragments you’ve seen before in the trash and on the first boss. The main boss won’t come back until you’ve killed the two Glass Remnants.
Blinding Salvo: Shoots little glass balls to random players and does increased damage. You can’t chain them but you can block the damage.
Hard Mode
All mechanics are the same, they just hit harder. In Veteran mode The Blind has 9,750,790 health and in Veteran Hard Mode he has 16,088,804 health.
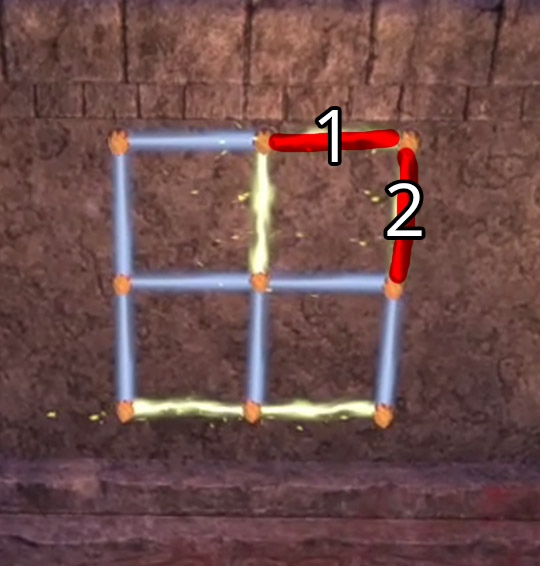
Puzzle 1
Fa-Nuit-Hen asks you to deactivate two of the lines, leaving three squares behind. Deactivate two lines from a corner so you are left with three small squares. This puzzle can be rotated a different way but the result is the same
Puzzle 1 charm buff
Zephyrys Obscuris: When backed up against a barrier, you can destroy threats to the barrier and protect the land in front of you from additional attacks for a few seconds. Shares a cooldown with other magical protection charms.
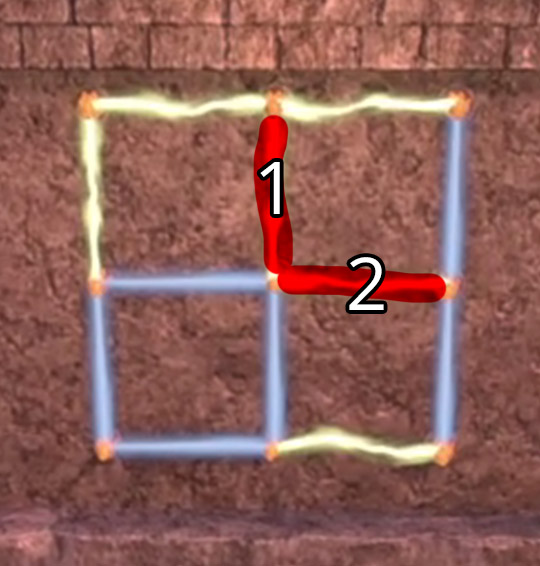
Puzzle 2
Fa-Nuit-Hen asks you to deactivate two lines to leave two squares. Deactivate two lines from the middle so you’re left with a small and a big square. This puzzle can be rotated a different way but the result is the same.
Puzzle 2 charm buff
Ocular Disperser: Protect yourself from hazardous waves and watch as they part before you. Shares a cooldown with other magical protection charms.
Puzzle 3
Fa-Nuit-Hen asks you to deactivate three lines and to leave four squares. This puzzle has at least three variations.


Puzzle 3 charm buff
Catatonic Disruptor: Force your attackers to the ground with a strong gravitational pull. Shares a cooldown with other magical protection charms.
Thank you to the PC EU guild Unlucky and the players MyNameIsElias, BitCopper and Shikai for taking me through the dungeons and explaining the mechanics!
Related Topics:
The post Official Bedlam Veil Dungeon Guide ESO appeared first on AlcastHQ.


