
Devourer Boss Guide – The First Descendant
Welcome to the Devourer Colossus Guide for the First Descendant.
In this guide, we will explain how to beat the Devourer Void Intercept Battle in TFD.
For more guides about the First Descendant, including powerful builds for each character, please check our TFD Guides and Builds Page.
Devourer Colossus Overview
Devourer is a Colossus boss that can be fought in a Void Intercept Battle in The First Descendant. The recommended level for taking on the Devourer is level 54.
Void Intercept Battles can be quite difficult, especially for newer players. This is because the bosses have powerful attacks and large amounts of HP, and you will fail the mission if the timer runs out or if more than three deaths occur during the battle. For these reasons, proper preparation is essential!
You should ensure your Descendant is equipped with good defensive Modules that boost your HP, Shield and DEF (at least two is recommended). It’s also important to note the elemental attacks and resistances of Devourer, and adjust your build correctly.
Devourer’s attacks deal Toxic damage, so you should add at least one Descendant Module that gives you resistance to Toxic damage.
Devourer is resistant to Toxic and Chill damage, so replace any Weapon Modules that add Toxic or Chill ATK, and consider switching to a character that does not use Toxic or Chill damage for their skills (Freyna and Viessa, for example, are poorly suited to fighting Devourer).
However, Devorer is very weak to Electric damage, so if you have a Descendant that deals Electric damage with their skills (such as Bunny), you should consider switching to them. Also, you can equip Weapon Modules that add Electric ATK to your shots, which will considerably improve your DPS output when fighting against Devourer. Fire damage is also okay against the Devourer boss in TFD, but not as good as Electric damage. You should also use a weapon that deals Piercing damage, as the Devourer is weakest to this damage type.
It’s important not to neglect this preparation because if you can’t stay alive or can’t do enough DPS to bring the boss down, your team also loses out, not just you.
Now that we’ve covered the prerequisites of the Devourer Void Intercept Battle in the First Descendant, we will move on and explain the attacks and mechanics of this boss.
Devourer Mechanics and Attacks Guide – The First Descendant
In this section, we will explain the mechanics and attacks that you’ll need to deal with when fighting Devourer in TFD. Remember to press TAB during the battle to highlight the Weak Points of the boss. Hitting these Weak Points deals extra damage, and destroying them will momentarily stun the boss and make the battle easier. If possible, you should try to grapple these Weak Points, as this does more damage to the boss than simply destroying them with gunfire.
This boss has a lot of HP and can also heal itself considerably, so you should aim to maximise Weak Point damage is much as possible, using Modules to help with this if possible.
The Mechanics and attacks of Devourer are:
Roly Poly – Roly Poly enemies will appear throughout the fight. They slowly follow players and attack you if they get close. When destroyed, they drop HP and ammo.
Arm Cannon – This is Devourer’s basic attack, which he defaults to when not doing anything else. He will target one player at a time and shoot green projectiles from his arm. These can be dodged or sidestepped easily if they are aimed at you.
Toxic Blast – This is a more powerful version of the Arm Cannon attack. Devourer will fire a more powerful blast that travels faster, deals more damage and leaves a lingering Toxic AoE where it lands. Stay mobile when the boss is aiming at you so you can quickly get away from this.
Crystals – Devourer launches green orbs targeted at players. When they land they create green crystals that deal Toxic damage to anyone stood close to them. This is easy to avoid as long as you are paying attention to what’s happening around you.
Stomp – Devourer will stamp on the ground, dealing heavy AoE damage and leaving a large green toxic AoE that lingers for quite a long time. Make sure to steer clear of this, and don’t hang around close to the boss unless you are trying to grapple.
Ground Smash – Devourer smashes the ground with his right arm, sending out a wave of toxic damage. This is another reason why lingering close to the boss is a very bad idea.
Toxic Balls – The boss creates several toxic balls that rapidly move across the ground, towards players. You should dodge out of the way to avoid getting hit.
Toxic Meteors – AoEs will appear at your character’s position. After a couple of seconds, anyone still stood in the area will be hit with heavy damage. Keep looking out for this – your character will turn green if you’re standing in the area, so it’s easier to see even if you’re aiming (unless you’re looking down a scoped weapon).
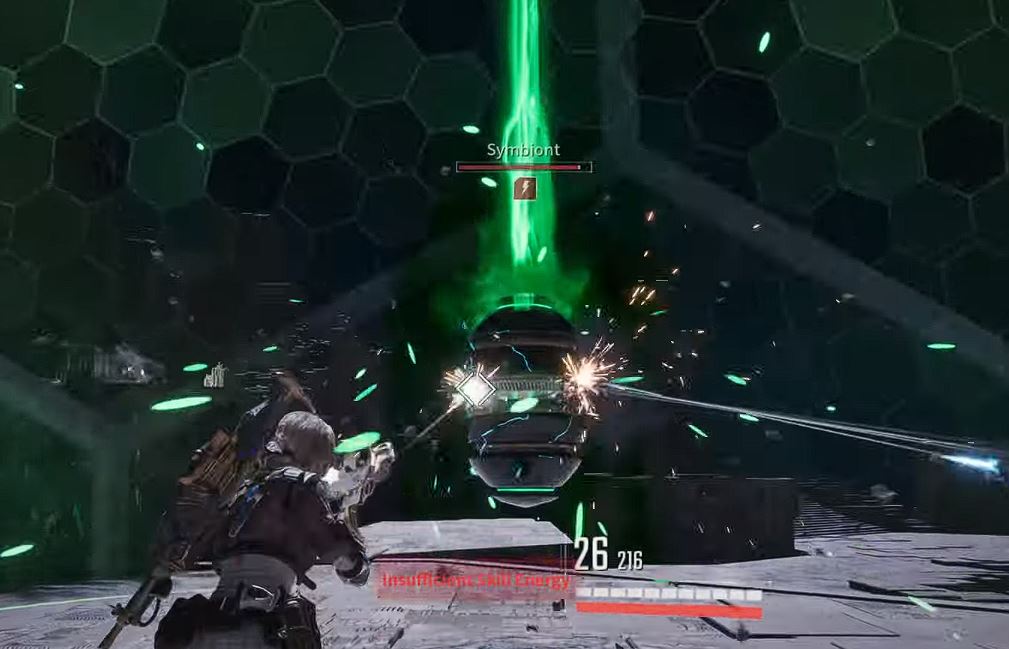
Symbionts – When the boss goes into a Frenzy, it becomes immune to damage, turns green and creates four Symbionts – these are immobile, floating devices that tether to the boss and heal it. If the boss is healed to full HP and the Symbionts still haven’t been destroyed, its shield will begin regenerating, too. The boss will begin to heal very quickly, so these need to be destroyed ASAP – the entire team needs to know about this mechanic and it should be everyone’s #1 priority when it’s happening. The Symbionts have a shield around them that stops you from hitting them from long-range, so you need to go inside the shielded area to damage them. While it’s very important to destroy them quickly, don’t be too reckless either – if you get yourself downed and need to be rescued, it’s going to waste damage and make the fight harder than it needs to be. It’s also important that you have enough ammo when this phase begins. Keep destroying Roly Polies throughout the fight to avoid being caught without ammo.
Devourer’s boss attacks are not too difficult to deal with (as long as you prepared properly and aren’t under-levelled) because they are very clearly telegraphed and quite easy to avoid for the most part. The main difficulty with this fight is your team having insufficient DPS, or getting grouped with random players who don’t know about the Symbiont mechanic. The most important thing going into this Void Intercept Battle is ensuring your character is properly geared and levelled up sufficiently.
We hope you liked this guide about the Devourer Colossus in The First Descendant (TFD).
Related Content:
Dead Bride Colossus Guide
Stunning Beauty Colossus Guide
Executioner Colossus Guide
More TFD Guides and Builds
The post Devourer Boss Guide – The First Descendant appeared first on AlcastHQ.


