
Nirma Guild Boss Guide – Guild Raid Throne and Liberty
Welcome to the Nirma Guild Boss Guide for Throne & Liberty.
In this guide, we will explain the mechanics and attacks of Nirma in full, along with the ideal strategy for dealing with these attacks and defeating the boss.
Nirma is a level 50 boss and is currently the final boss in the Guild Boss list, taking the status as arguably the most powerful and deadly of all the guild bosses in Throne & Liberty.
Nirma can be fought either in the open world or via the guild system. To find Nirma in the open world, head to the Syleus Abyss open world dungeon. If your guild is level 17 or higher, you can instead fight Nirma via the Guild Hall.
We will now look at the attacks and mechanics that you will need to deal with when fighting Nirma in Throne & Liberty.
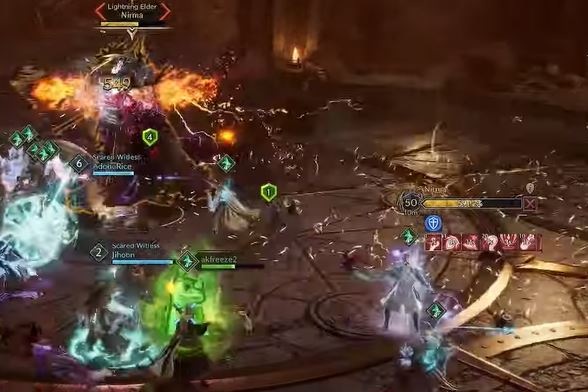
Nirma Boss Mechanics in Throne & Liberty
Below are all of the attacks and mechanics of Nirma in TL:
Focused Targeting – The first thing to understand about Nirma is how the boss’ targeting works. The most distant visible player at the start of the fight is chosen as the primary target of the boss until they die or leave the fight. This player will have an orange orb visible above them. You can use this functionality to manipulate the boss’ targeting and ensure that your tank gets aggro. If the primary tank dies, a new player will get an orange orb above their head, and they can try to take over the tank role.
Targeted Basic Attacks – The targeted player will continuously receive basic attacks from the boss throughout the fight. A healer should keep an eye on them to ensure their HP is not gradually run down by these attacks.
Target Cone – A cone shape will be visible on the ground around the targeted player. This cone is used for some AOE attacks, and will follow the targeted player if they move too far to the sides. Therefore, the targeted player should keep away from the rest of the group, allowing them to stand safely behind the boss to DPS.
Lightning Cone – Nirma raises their staff and shouts out. The aforementioned cone will now be filled with a powerful lightning AOE. The raid should be positioned in such a way that the target player has room to run into to either his left or right, without encountering any other players. Otherwise they will be forced to eat the lightning damage which might not be survivable for them. If you’re leading the raid, take a moment to explain this to players. When the targeted player moves the cone into the empty zone, the rest of the raid should gradually move to the spot where the targeted player was previously, freeing up more space for them to move into. Just beware of lingering lightning on the ground before you move. This way, the entire raid will gradually rotate around the arena after each lightning cone, allowing the targeted player the space they need to kite the cone.
Lightning Wave – A pulse of lightning fills the entire room. The only way to avoid this is to jump just before it hits you. Players with an average amount of HP and mitigation will typically lose around half of their health if they are hit by this.
Nirma will continue to repeat these mechanics for the duration of the fight.
These mechanics sound quite simple in paper and I suppose they are functionally-speaking. But it still requires quite a lot of consistency and coordination from your entire raid to get it right, and mistakes are punished with very heavy damage. So don’t be too concerned if your guild gets stuck on this to begin with. Keep practicing and eventually players will get into the rhythm of the fight.
We hope you liked this guide about the Nirma Guild Boss in Throne & Liberty.
Related Content:
Morokai Guild Boss Guide
Excavator-9 Guild Boss Guide
Chernobog Guild Boss Guide
The post Nirma Guild Boss Guide – Guild Raid Throne and Liberty appeared first on AlcastHQ.


