
BG3 Beast Master Ranger Build Guide
Welcome to the Best BG3 Beast Master Build. For this build, we will be using the Beast Master subclass of Ranger, which excels in high single-target and is great for taking down dangerous enemies, such as bosses and large monsters.
Please visit our Best BG3 Builds overview page for more builds, or check out our Best BG3 Ranger Build or our optimized Ranger companion BG3 Minsc Build. To get an overview of all classes, please visit the BG3 Classes overview page.
The Ranger excels at using ranged weapons to deal high damage to enemies before they can get close, and also has some fairly limited Spellcasting abilities. The BG3 Ranger Build was last updated in September 2025. It works for both PC and Console (PS5 and Xbox Series X/S).
Table of Contents:
- Beast Master Build Overview
- Character Creation
- Beast Master Build Levelling Progression
- Beast Master Equipment
- Beast Master Build Extra Info
Beast Master Strengths
Beast Master Weaknesses

BG3 Ranger Build Overview
We’ll start with a basic overview of the Ranger class and the Beast Master subclass, which we’ll be using for this build. If you’re already familiar with how they work, please skip this section.
Ranger Class Summary
Here are the most important features of the Ranger class in Baldur’s Gate 3:
 Bounty Hunter (Level 1) – You gain Investigation Proficiency. Creatures you hit with Ensnaring Strike have
  Disadvantage on their
  Saving Throw.
 Archery Fighting Style (Level 2) – You gain a +2 bonus to ranged weapon
  Attack Rolls
 Extra Attack (Level 5) – Each
  Action yields two weapon attacks, rather than one.
 Land’s Stride: Difficult Terrain (Level 8) – Difficult Terrain no longer slows you down
 Hide in Plain Sight (Level 10) – Gain a +10 bonus to
  Stealth Checks, as long as you are standing still.
BG3 Beast Master Summary
Here are the most important aspects of the Beast Master subclass in BG3:
 Ranger’s Companion (Level 3) – You can summon an animal companion (Bear, Boar, Dire Raven, Wolf, Wolf Spider) to support you in combat.
 Companion’s Bond (Level 5) – Your Ranger’s Companions get a bonus to their HP and Armour Class.
 Exceptional Training (Level 7) – Your Ranger’s Companions can now use Dash, Disengage and Help as Bonus Actions.
 Bestial Fury (Level 11) – Your Ranger’s Companions can now attack twice per turn.
Character Creation (Level 1) for the BG3 Beast Master Build

In this section, we will go over the basic Character Creation options for your Baldur’s Gate 3 Beast Master build, namely Background, Race, Skills and Abilities.
Race
While this build works fine with any race in BG3, some choices have a slight edge because their features synergise with this build.
Here are our top 5 race picks for the Beast Master Build:
| Race | Strengths | Info |
|---|---|---|
Wood Elf |
|
Wood Elves are a great choice for most build types in BG3, thanks to their superior movement speed. Natural Proficiency in Perception is always useful, and immunity to magical Sleep will help you out a lot, especially in the early game, where enemy mages love to spam this spell.
They are especially good for a Ranger, because their extra Movement Speed makes it easier to maintain distance to enemies. |
Githyanki |
|
Githyanki have excellent mobility thanks to Enhance Leap and Misty Step, allowing you to evade melee attackers and stay at range, where the Ranger is strongest.
Additionally, Githyanki get the full benefits from equipping various Githyanki weapons, sometimes granting additional Psychic Damage or special features. |
Drow |
|
The Drow shares many features with the Wood Elf, but does not get the extra Movement Speed.
Drow do get Superior Darkvision, however. This means you’ll never have trouble hitting enemies in dark areas. |
Duergar |
|
With their wide choice of armour and weapon proficiencies, and resistances to poison, charm, and paralysis, Duergar are one of the strongest races in BG3.
The only downside of Duergar is their small stature – this reduces their base Movement Speed to 7.5 metres per turn (most races get 9 metres). |
|
Zariel Tiefling |
|
The Zarial Tiefling’s Darkvision helps them to shoot enemies in dark areas, and the innate Fire Resistance will often be useful, since Fire is one of the more common damage types in BG3.
The Branding Smite spell, unlocked at Level 5, can be used on Ranged Attacks. Therefore, it works surprisingly well with the Ranger. |
Background & Skills
You must choose a Background for the Beast Master build. It is best built with high Dexterity and Wisdom, so we’ll aim to get Proficiency with Skills that align with those priorities. Backgrounds provide your character with Skill Proficiency in two predefined Skills.
I recommend choosing the Entertainer Background, which gives the following Skill Proficiencies:
 Acrobatics (DEX) – Helps your character to resist being pushed by enemies. This is very useful because the AI will always try to push your party members off high ledges whenever it gets a chance. Increasing the Acrobatics Skill reduces the chance of this happening. This Skill is the only reason why we chose the Entertainer.
- For Humans: If you chose the Human Race, you get one unrestricted Skill choice. In that case, you should spend that Skill choice on Acrobatics and choose the Urchin Background.
 Performance (CHA) – Occasionally used in dialogue dice rolls to impress or distract certain characters. This Skill isn’t well-suited to our Ability Distribution, but it comes with the Entertainer Background.
After choosing your Background, you can manually select another two Skills from a limited choice of Ranger Skills. We recommend choosing:
 Perception (WIS) – Helps you to spot ambushes and other hidden details in the world.
 Survival (WIS) – Increases your chance to spot buried treasure and supplies while exploring.
Abilities
We also need to allocate your Ranger’s starting abilities. These impact performance in combat situations, and will also impact some Ability and Skill rolls outside combat. For the Beast Master, the following stats are most important:
- Dexterity – Will determine how good we are at attacking with our ranged weapon
- Wisdom – Determines how good we are at Spellcasting
- Constitution – Dictates our Hitpoints and how likely we are to succeed at Concentration checks (if the effects of a Concentration Spell we cast will be retained when we take damage)
As such, we recommend pushing DEX and WIS as high as possible, and making sure CON is at least 14.
We recommend using the following ability distribution:
 10 Strength
 16 Dexterity
 14 Constitution
 8 Intelligence
 16 Wisdom
 10 Charisma
Bolded Abilities are essential for the build. The others can be tweaked if needed.
Favoured Enemy and Natural Explorer
At Level 1, you’ll need to select two Ranger-specific options in the Class menu. These are Favoured Enemy and Natural Explorer.
For ![]() Favoured Enemy, we recommend going with
Favoured Enemy, we recommend going with ![]() Bounty Hunter. This doesn’t immediately do anything useful for us, but it will come in handy later on after we’ve developed our spellcasting options.
Bounty Hunter. This doesn’t immediately do anything useful for us, but it will come in handy later on after we’ve developed our spellcasting options.
For ![]() Natural Explorer, you should choose can choose one of two options:
Natural Explorer, you should choose can choose one of two options:
 Urban Tracker – Gives
  Sleight of Hand proficiency. Only use this if you want to use your Ranger for Lockpicking or Pickpocketing.
 Wasteland Wanderer: Poison – Gives you Resistance to
  Poison Damage. This is a very common damage type used by enemies in BG3, so you should grab this if you don’t want the Sleight of Hand Proficiency.
Beast Master Build Full Levelling Guide
We will now walk you through the levelling up process for this Baldur’s Gate 3 Beast Master Build.
Early-Game (2-4) Levelling Progression for the BG3 Beast Master Build
We’ll start with the early-game levels.
Level 2 – Fighting Style & Spells
When you reach Level 2 with your BG3 Beast Master Build, you’ll need to select a Fighting Style and choose 2 Spells to learn.
Your Fighting Style lets you become especially skilled with a particular type of weapon. For this Beast Master Build, we are using the ![]() Archery Fighting Style. This is very important, as it will give you an extra +2 to our Ranged Attack Rolls, making your shots more accurate.
Archery Fighting Style. This is very important, as it will give you an extra +2 to our Ranged Attack Rolls, making your shots more accurate.
As for Spells, the following two are the best options at this stage, so we recommend choosing them:
 Ensnaring Strike – This is a Concentration spell that lasts for up to 10 turns. While active, your weapon attacks will summon vines that deal extra
  Piercing Damage and potentially ensnare your target. This is great for pinning down dangerous enemies, and it also synergises with the Bounty Hunter option we chose earlier, causing enemies hit by the spell to have Disadvantage on their Saving Throw.
 Hunter’s Mark – Mark an enemy, causing your attacks to deal extra damage to them. If the target dies before the spell ends, you can reapply Hunter’s Mark to a new creature without spending another Spell Slot.
At this stage, we only have two Level one Spell Slots, meaning we can cast just two spells per Long Rest. This is quite limiting for the time being, but you’ll unlock more as you level up further.
Level 3 – Subclass and Spell – BG3 Beast Master Build PC/PS5
At Level 3, we immediately gain an extra Spell Slot, so we can now cast 3 spells before needing to have a Long Rest.
This is also the point where you get to choose your subclass. For this build, we’ll be using the Beast Master subclass.
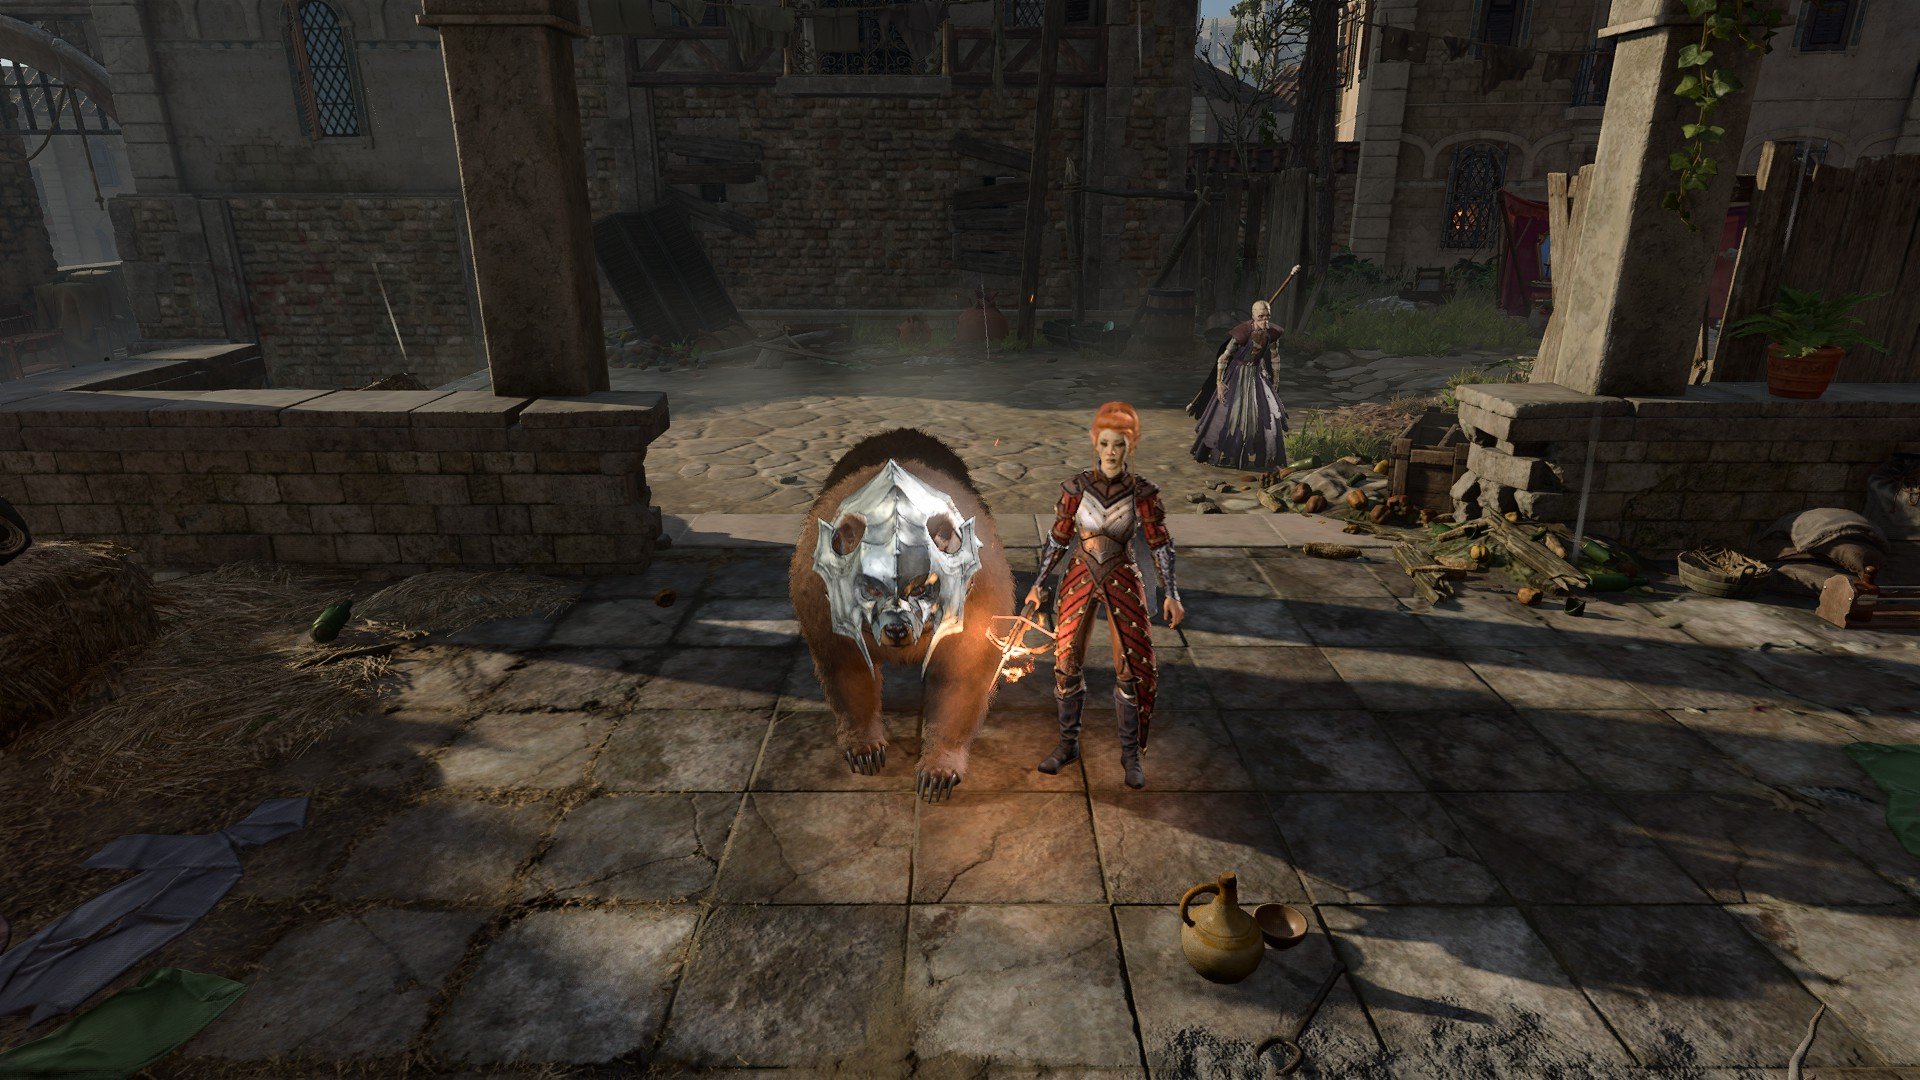
The Best Master subclass immediately unlocks ![]() Ranger’s Companion, which allows you to summon an animal companion (Bear, Boar, Dire Raven, Wolf, Wolf Spider) to support you in combat.
Ranger’s Companion, which allows you to summon an animal companion (Bear, Boar, Dire Raven, Wolf, Wolf Spider) to support you in combat.
Before proceeding, we also need to choose an extra Spell for our Beast Master Build at this point. If you feel like your party needs some extra healing ability, then choose ![]() Cure Wounds, a solid healing spell that can help you out in a pinch. Otherwise, go with
Cure Wounds, a solid healing spell that can help you out in a pinch. Otherwise, go with ![]() Speak with Animals (the latter does not consume a Spell Slot if cast outside combat).
Speak with Animals (the latter does not consume a Spell Slot if cast outside combat).

Level 4 – Feat
At Level 4, we’ll need to choose a Feat for our Beast Master Build. Feats are strong passive buffs for your character that can help to define your build. It’s pretty much always the best idea to choose Ability Improvement here, which gives us an extra 2 Ability Points to assign. Put them both into Dexterity, thus increasing it to 18. This will help to supercharge your Ranged Weapon Attack Rolls.
Mid-Game (5-8) Levelling Guide for the Beast Master
We’ll now go through the mid-game levelling up.
Level 5 – Second Level Spell
At Level 5, the Beast Master Build for Baldur’s Gate 3 becomes considerably more powerful. At this level, we get the passive ability to attack twice per turn with our weapon. This is obviously a massive buff, and your damage output is going to skyrocket at this point.
We also gain the option to access some Second Level Spells for the first time. Two options are most viable here, depending on your circumstances:
 Darkvision – Only get this if your race doesn’t have innate Darkvision or Superior Darkvision.
 Spike Growth – Spike Growth lets you cover a 12 metre wide area in Spikes, halving the movement speed of all within and causing them to take 2-8 Piercing Damage for every 1.5 Metres they walk on the spikes. Be wary that this is a Concentration Spell, so you cannot have this and Ensnaring Strike active at the same time. Ensnaring Strike is better for pinning down single dangerous enemies, whereas Spike Growth is good for slowing down groups of enemies in a larger area.
Finally, you will unlock ![]() Companion’s Bond, which gives your animal companions a bonus to their HP and Armour Class.
Companion’s Bond, which gives your animal companions a bonus to their HP and Armour Class.
Level 6
At Level 6, you’ll need to make an additional choice for both Favoured Enemy and Natural Explorer.
Your ![]() Favoured Enemy pick is not especially important.
Favoured Enemy pick is not especially important. ![]() Mage Breaker gives you the
Mage Breaker gives you the ![]() True Strike Cantrip, which can occasionally be useful for targeting enemies with high defenses. But you can choose a different option if you prefer.
True Strike Cantrip, which can occasionally be useful for targeting enemies with high defenses. But you can choose a different option if you prefer.
For ![]() Natural Explorer, go with a Wasteland Wanderer option that you didn’t choose at level one. Use this as a priority order:
Natural Explorer, go with a Wasteland Wanderer option that you didn’t choose at level one. Use this as a priority order: ![]() Poison >
Poison > ![]() Fire >
Fire > ![]() Cold
Cold
Level 7
At Level 7, the Spellcasting ability of your Beast Master build is improved.
You’ll now have three Second Level Spell Slots, and can choose one more spell to learn. If you find yourself using stealth often with your Beast Master, then the ![]() Pass Without Trace spell will help you out with this. Otherwise, grab the
Pass Without Trace spell will help you out with this. Otherwise, grab the ![]() Silence spell, which can be used to shut down enemy spellcasters.
Silence spell, which can be used to shut down enemy spellcasters.
You unlock the ![]() Exceptional Training passive feature, which allows your animal companions to use Dash, Disengage and Help as Bonus Actions.
Exceptional Training passive feature, which allows your animal companions to use Dash, Disengage and Help as Bonus Actions.
Level 8
At Level 8 for your Beast Master Build, you’ll gain a couple of extra features.
First, you need to choose another Feat for your character. I recommend getting Ability Improvement again. Increase your Dexterity to 20.
You’ll also unlock the ![]() Land Stride perk, which prevents difficult terrain from slowing your character down. It won’t remove other negative effects though, such as the chance of slipping on grease or the damage from walking on spikes.
Land Stride perk, which prevents difficult terrain from slowing your character down. It won’t remove other negative effects though, such as the chance of slipping on grease or the damage from walking on spikes.
Late-Game (9-12) Levelling Guide for the BG3 Beast Master Build
We can now move on to the Beast Master’s late-game levelling.
Level 9
At Level 9, your Beast Master will unlock the following:
- Two Third Level Spell Slots, and the ability to use spells of this tier.
- Choose one more Spell to learn.
For the spell, we recommend selecting the ![]() Conjure Barrage spell, it deals great AoE damage in a 9m radius. It allows you to shoot arrows in a cone from your character’s location, each one doing 2-16
Conjure Barrage spell, it deals great AoE damage in a 9m radius. It allows you to shoot arrows in a cone from your character’s location, each one doing 2-16 ![]() Slashing Damage.
Slashing Damage.
Level 10
At Level 10, the Beast Master class unlocks the ![]() Hide in Plain Sight feature, which lets you turn invisible and gain a +10 bonus to
Hide in Plain Sight feature, which lets you turn invisible and gain a +10 bonus to ![]() Stealth Checks as long as you are standing still. This is great for sneaking around and dealing bonus stealth damage.
Stealth Checks as long as you are standing still. This is great for sneaking around and dealing bonus stealth damage.
You’ll also be able to choose another Favoured Enemy and Natural Explorer option. We have already picked up all the important ones, so at this point, you can choose whichever ones you like the most. For example, in the Favoured Enemy option, we went with ![]() Sanctified Stalker, which gives us Proficiency in
Sanctified Stalker, which gives us Proficiency in ![]() Religion and unlocks the
Religion and unlocks the ![]() Sacred Flame cantrip that deals high damage to undead.
Sacred Flame cantrip that deals high damage to undead.
With Natural Explorer, choose an option that you didn’t already unlock. Use this as a priority order: ![]() Poison >
Poison > ![]() Fire >
Fire > ![]() Cold
Cold
Level 11
At Level 11, you’ll unlock the following new features for your BG3 Beast Master Build:
- Another Third Level Spell Slot, giving you three in total.
- Choose one more spell to unlock. We recommend going with
 Lightning Arrow, which allows you to shoot an arrow that deals 4-32
  Lightning Damage on impact, and sends out sparks in multiple directions that deal 2-16 to anyone hit by them. Good for shooting into tightly packed groups of enemies.
 - Improved HP for your animal companions.
- Bestial Fury – Your animal companions can now attack twice per turn.
![]()
Level 12 – Max Level Beast Master Build for BG3
If you reached this point, then you have completed levelling up your Beast Master to the max level in Baldur’s Gate 3. Congratulations!
You can now select one more Feat for your character. We recommend choosing the Sharpshooter Feat.
Sharpshooter exempts your character from Low Ground penalties, but you’ll still gain a bonus from High Ground. You’ll also be able to toggle a new ability called ![]() Sharpshooter: All In. When turned on, you’ll receive a -5 penalty to your Attack Rolls, but get +10 bonus damage on your attacks. This is great for quickly dispatching enemies whom you have a very high chance of hitting. It doesn’t tend to work as well against bosses and enemies with high Armour Class, at least not without significant buffs and debuffs working in your favour.
Sharpshooter: All In. When turned on, you’ll receive a -5 penalty to your Attack Rolls, but get +10 bonus damage on your attacks. This is great for quickly dispatching enemies whom you have a very high chance of hitting. It doesn’t tend to work as well against bosses and enemies with high Armour Class, at least not without significant buffs and debuffs working in your favour.

BG3 Beast Master Build Equipment
We will now go through the best equipment for this Beast Master Build in Baldur’s Gate 3.
We have split this part into an early-game and late-game loadout, so you can start collecting gear to use on your Beast Master from the beginning of the game.
Early Game Gear
The early game equipment for the BG3 Beast Master Build can be found in Act 1 or at the start of Act 2. Don’t panic if you missed some of the items; try to view the lists below as a wishlist rather than a precise blueprint. Items listed in bold italics are more important, so try your best not to miss out on those.
| Slot | Icon | Item | Effects | Location |
|---|---|---|---|---|
| Head |  |
Haste Helm |
|
In a wooden chest next to a cart, by the Blighted Village Waypoint |
| Cloak |  |
Cloak of Protection |
|
Purchased from Quartermaster Talli in Last Light Inn |
| Chest |  |
Scale Mail Armour +1 |
|
Buy from Dammon inside the “The Hollow” (Druid Grove) |
| Gloves |  |
Gloves of Archery |
|
Buy from Grat the Trader inside the Goblin Camp |
| Boots |  |
Disintegrating Night Walkers |
|
Looted from True Soul Nere in the Grymforge |
| Necklace |  |
Amulet of Branding* |
|
Looted from A’Jak’Nir Jeera in the Githyanki Creche |
| Ring 1 |  |
Ring of Protection |
|
Steal the Sacred Idol in Druid Grove (quest) |
| Ring 2 |  |
Caustic Band |
|
You can purchase the ring from Derryth Bonecloak |
| Main Weapon |  |
Gandrel’s Aspiration (or The Joltshooter) |
|
Looted from Gandrel near the Hag’s Hut
If you want to keep Gandrel alive, the Joltshooter is the next best option, awarded for saving Counsellor Florrick from Waukeen’s Rest |
| Second Weapon | Any Dagger, Shortsword, Scimitar or Rapier |
|
N/A |
Important*: While we’re not going to use it yet, I strongly recommend getting Broodmother’s Revenge, an amulet that grants your first attack after being healed 1d6 ![]() Poison Damage. It is looted from Kagha in the Druid Grove. We’ll be using this item in Act III when we can activate the bonus damage more reliably. Just hold onto it now and be careful not to accidentally sell it.
Poison Damage. It is looted from Kagha in the Druid Grove. We’ll be using this item in Act III when we can activate the bonus damage more reliably. Just hold onto it now and be careful not to accidentally sell it.
A more detailed overview of each item:
Gandrel’s Aspiration and The Joltshooter
In Act 1, you can find a Heavy Crossbow “Gandrel’s Aspiration“. It has +1, and you get Advantage against Monstrosity-type enemies. You will have to kill Gandrel though to get the weapon. He is the guy that you find next to the Hag’s Hut in Act 1.
Additionally, you can also find a good Longbow called The Joltshooter in Act 1, close to the Waukeen’s Rest Waypoint. Whenever you deal damage, you get Lightning Charges. These will deal additional damage. If you have 5 Lightning charges, they will be consumed, and you do 1d8 extra damage on your next attack. You will have to do the quest in the burning building and save Counsellor Florrick to obtain the Longbow.
Note: If you want a super early weapon, you can buy the Spellthief from Arron inside the Druid Grove. You visit the Druid Grove right after you leave the Ravaged Beach at the start of the game.
Scale Mail Armour +1
The Scale Mail Armour +1 is a good armour for the early game and is super easy to acquire in Act 1. You can buy the medium armour from Dammon inside the “The Hollow” (Druid Grove).
Haste Helm
For your Helmet, look out for the Haste Helm, which gives you an extra 3 metres of Movement Speed for the first 3 turns of every combat, and gives a +1 bonus to Dexterity Saving Throws. It can be found in a wooden chest next to a cart, by the Blighted Village Waypoint. This is great for the Ranger as it allows you to outrun your enemies.
Disintegrating Night Walkers
For Boots, you can get the Disintegrating Night Walkers in Act 1, looted from True Soul Nere in the Grymforge. They will give you the Misty Step spell, as well as immunity to the Enwebbed, Entangled and Ensnared conditions and prevent you from slipping on ice or grease. These are a great counter to effects that can otherwise pin down your Ranger and leave them vulnerable.
Cloak of Protection
For your Cloak, a good option is the Cloak of Protection, purchased from Quartermaster Talli in Last Light Inn (Act 2). This gives you a +1 bonus to your Armour Class and Saving Throws, making your character more resistant to damage and hostile Conditions.
You can also read our in-depth guide on How to get the Cloak of Protection in BG3, which explains everything in detail.
Gloves of Archery
For your Gloves, in Act 1 you can get the Gloves of Archery quite early in the game. These are ideal for the Ranger, adding 2 extra damage to all successful ranged weapon attacks.
To get the gloves, buy them from Grat the Trader in the Goblin Camp.
Amulet of Misty Step
The Amulet of Misty Step is a great early-game necklace. In certain cases, it is even used in the endgame gear setups because the Misty Step spell is so amazing. Especially for our ranged Beast Master Build, it becomes very useful to get into good locations to gain an advantage against enemies. The amulet can be found inside a Gilded Chest in the Defiled Temple. You can reach the Defiled Temple through the Goblin Camp. Once at the Goblin Camp you can enter the Shattered Sanctum and then get to the Defiled Temple.
We also have an in-depth guide on How to get the Amulet of Misty Step in BG3.
Ring of Protection
The Ring of Protection is a really good ring that you can obtain early game in Act 1. The ring gives you a +1 to Armour Class and +1 to Saving Throws. You get the ring by completing the Steal the Sacred Idol quest. To start the quest, head into the Tiefling Hideout in the Druids Grove and talk to Mol. She is the gang leader and wants you to steal the Idol of Silvanus. The Idol is used as a ritual in the middle of the Druid; it won’t be easy to steal it.
Caustic Band
The Caustic Band is fairly easy to get, but you need to make your way into the Underdark. The ring adds +2 Acid damage to your attacks. This is great, especially with us already dealing good damage on the Beast Master Ranger Build in BG3. You can purchase the ring from Derryth Bonecloak. Derryth is located in the Myconid Colony in the Underdark.
Endgame Gear Late Act 2 and Act 3
The endgame gear for the Beast Master can be obtained either in late Act 2 or Act 3 of Baldur’s Gate 3. Once again, the most important items are in bold italics.
| Slot | Icon | Item | Effects | Location |
|---|---|---|---|---|
| Head |  |
Helm of Balduran |
|
Defeat Ansur in the Dragon’s Sanctum. |
| Cloak |  |
Shade-Slayer Cloak |
|
Buy it from Sticky Dondo in the Criminal Guilds Hall |
| Chest |  |
Helldusk Armour |
|
Defeat Raphael. |
| Gloves |  |
Bonespike Gloves |
|
Looted from Strangler Luke during the Ambush that will appear when you are on the Get Orin’s Netherstone quest |
| Boots | |
Disintegrating Night Walkers |
|
Looted from True Soul Nere in the Grymforge |
| Necklace | Broodmother’s Revenge |
|
Looted from Kagha in the Druid Grove in Act I | |
| Ring 1 |  |
Ring of Free Action |
|
Buy from Araj Oblodra inside the Moonrise Tower |
| Ring 2 | |
Caustic Band |
|
You can purchase the ring from Derryth Bonecloak |
| Main Weapon |  |
Gontr Mael |
|
Drops from the Steel Watcher Titan in the Steel Watcher Foundry |
| Second Weapon | Any Daggers, Shortswords, Scimitars or Rapier |
|
N/A |
Now, let us take a look at where you can find the endgame gear for the Beast Master Build in Baldur’s Gate 3. Weapons first because that is the most important thing to look out for.
Gontr Mael Legendary Longbow
In late Act 3 you can get the Gontr Mael, a Legendary Longbow. It drops from the Steel Watcher Titan in the Steel Watcher Foundry. This Longbow comes with a +3 enchantment, the Celestial Haste spell, and a chance to also fire Guiding Bolt at an enemy you hit with one of your shots. Gontr Mael is the strongest Longbow you can get in the game.
Helm of Balduran
The Helm of Balduran is a legendary item that is one of the most powerful items in Baldur’s Gate 3. It gives you the following perks:
- Critical Strike Immunity: Attackers can’t land Critical Hits on the wearer.
- Balduran’s Vitality: The helmet heals you 2 Hit Points at the beginning of every turn.
- Balduran’s Favour: You have a +1 bonus to Armour Class and Saving Throws.
- Stun Immunity: You cannot be Stunned.
You can get the Helm of Balduran by defeating Ansur in the Dragon’s Sanctum. You get there by going through the secret passage in the Wyrm’s Rock Prison. You open the secret passage by turning off the two torches. You get into the prison either through a crack in the wall or through the main building of Wyrm’s Rock Fortress. To get into the Dragon’s Sanctum you have to solve some puzzles in the Wyrmway first.
You can also read our in-depth guide on How to get the Helm of Balduran in BG3 to get a detailed walkthrough.
Shade-Slayer Cloak
The Shade-Slayer Cloak is a very rare item that can be obtained by buying it from Sticky Dondo in the Criminal Guilds Hall in Act 3. You can enter the Guilds Hall through a hatch in the Lower City. The Shade-Slayer Cloak applies the Stealthy Critical perk. While hiding, the number you need to roll a Critical Hit while attacking is reduced by 1. This effect can stack.
You can find more cloak options on the BG3 Cloak Items Overview Page.
Helldusk Armour
By far the best armour in the game is the legendary Helldusk Armour. Yes, this is a heavy armour item. However, the great thing about Helldusk is that you are proficient with heavy armour while wearing the Helldusk Armour. That means you get the protection of it, but won’t gain any penalties to stealth or other things. When you succeed a Saving Throw, the enemy will be lit on fire and burns for 3 turns. Additionally, you get resistance to fire and cannot burn. And you take 3 less damage from all sources.
- Helldusk Armour: You are considered Proficient with this armour while wearing it.
- Infernal Retribution: When you succeed a Saving Throw, the caster receives Burning for 3 turns.
- Prime Aegis of Fire: You have Resistance to Fire damage and cannot be Burned. You take 3 less damage from all sources.
And even better, the Helldusk Armour also gives you the Fly spell. This allows you to position yourself to your advantage against enemies. You sort of can play cat and mouse with enemies now because you can use Fly and Misty Step.
The only downside to the armour is that it is a tough cookie to get it. You will have to defeat the devil himself, Raphael. The location is called the House of Hope and you reach it through a portal to hell inside the Devil’s Fee house. You have to speak to Helsik to get instructions on how to open the portal to hell. Once you are inside the House of Hope explore everything. Once you are trying to return to the real world Raphael will confront you, this is a tough fight so come prepared.
You can also read our in-depth guide on How to get the Helldusk Armour in BG3.
Bonespike Gloves
The Bonespike Gloves are a very rare item and perfect for our BG3 Beast Master Ranger Build. It allows us to ignore enemy resistance to Piercing damage. So no matter what, we will go through enemy resistance like butter and deal full damage. You can find the Bonespike Gloves in the Undercity Ruins. It must be looted from Strangler Luke during the Ambush that will appear when you are on the Get Orin’s Netherstone quest. You need to loot the gloves from him during the fight. Because he will immediately despawn after the fight is over and take the gloves with him.
Ring of Free Action
As a secondary ring, we recommend the Ring of Free Action. You can buy the Ring of Free Action from Araj Oblodra inside the Moonrise Tower in late Act 2. The ring allows you to ignore the effects of Difficult Terrain, and cannot be Paralysed or Restrained.
Beast Master Build Extra Info
Here is some additional information that will help you get the most out of this BG3 Beast Master Build.
Best BG3 Beast Master Build Tips & Tricks
When playing this BG3 Beast Master Build, remember to use the spells at your disposal to pin down enemies, especially dangerous ones. Ensnaring Strike is your go-to for this in most situations.
Remember that whenever you are hit, you risk losing Concentration on Ensnaring Strike and other spells like it, and when in melee range you also get Disadvantage on your Ranged Attack Rolls. Therefore, it’s important to use movement to stay away from melee enemies. Running or Jumping away from melee enemies who are already close to you is likely to incur an opportunist attack, so if possible you should not allow them to get close to you to begin with, rather than running away when they’re already next to you.
Don’t be afraid to use AOE spells like Hail of Thorns against a single target if you just need some extra damage quickly.
Your summoned animal companions will not only help you to damage foes, they help to protect your Beast Master and other party members by distracting enemies.
Dual Wield Hand Crossbows with the BG3 Beast Master Build
This is a feature that is often overlooked, you can actually dual-wield Hand crossbows in BG3. It looks pretty cool plus if you have some juicy Hand crossbows for your BG3 Beast Master Build then it is definitely worth considering.
You could combine the Hellfire Hand Crossbow with the Ne’er Misser Hand Crossbow. Our standard setup for the Beast Master class is still with any of the Heavy Crossbows, but you can give this dual-wielding option a try if you feel like it.

Beast Master Build Illithid Powers (optional)

Illithid Powers are unlocked later in BG3 when you learn more about Mind Flayers and Tadpoles. By eating Jars of Mind Flayer Parasites you gain one point. This is another optional skill tree that you can get access to if you want. Here are some of the best Illithid Powers for the BG3 Ranger Build with the Beast Master subclass:
 Concentrated Blast: Allows you to deal extra damage to a target when you are Concentrating on a spell, potentially also healing if the target is Concentrating too. Ideally you will spend a lot of time Concentrating on either Hex or an AoE like Hunger of Hadar, so you should be able to get good use from this.
 Cull the Weak: When you reduce a creature’s hit points below a certain threshold, this power instantly kills it and deals 1-4 Psychic Damage to nearby enemies. This is particularly effective when engaging groups of weaker foes, enabling you to thin their numbers rapidly.
 Fly: This can be used to reach hard to get to places or change positions in combat. Use this to keep your Warlock safe from enemy attacks, so your Concentration won’t get disrupted as easily.
 Black Hole: This power creates an area-based effect that pulls in and slows targets. It’s particularly useful for crowd control, allowing you to cluster enemies together for area-of-effect attacks or to isolate them from vulnerable allies. Try getting the Haste buff from a Potion of Speed or the Haste spell (lets you perform 2 Actions on one turn), then casting Black Hole and then Hunger of Hadar to cause a world of pain for a group of enemies.
 Psionic Backlash: This is a top-tier reaction from the Illithid Powers skill tree in BG3. This allows you to deal psychic damage when a nearby enemy casts a spell. This is especially useful if the target is casting a Concentration Spell. The damage from Psionic Backlash can immediately break their Concentration, ending the spell’s effects.
Other Baldur’s Gate 3 Builds
- Druid Build – Circle of the Moon
- Bard Build – College of Lore
- Monk Build – Way of Shadow
- Monk Build – Way of the Four Elements
- Monk Build – Way of the Open Hand
- Necromancer Build – Necromancy
- Fighter Build – Battle Master
- Barbarian Build – Berserker
- Warlock Build – Great Old One
- Cleric Build – Light Domain
- Rogue Build – Thief
- Sorcerer Build – Wild Magic
- Wizard Build – Evocation School
- Paladin – Oath of Ancients
- More Baldur’s Gate Guides & Builds
If you want to check out the map of Baldur’s Gate 3, please visit the Baldur’s Gate 3 Interactive Map.
The post BG3 Beast Master Ranger Build Guide appeared first on AlcastHQ.


