
Top 10 Builds for BG3 Patch 8

Welcome to our Top 10 Best Builds for Baldur’s Gate 3 Patch 8.
Patch 8 is a huge new update coming out for BG3 in 2025. It adds 12 new subclasses to the game, along with a few new spells. All of this new content has opened up many new build possibilities.
In this article, we’ll look at the 10 best builds you can make for the new Patch 8 subclasses in BG3, along with links to build guides in case you want to replicate them in your own playthrough.
#1 – Hexblade Warlock
The Warlock was already one of the strongest classes in BG3 thanks to its ability to rack up huge damage with the Eldritch Blast Cantrip. The Hexblade instead focuses more on the Warlock’s melee potential, and in my view it is even stronger than the Eldritch Blast Warlock.
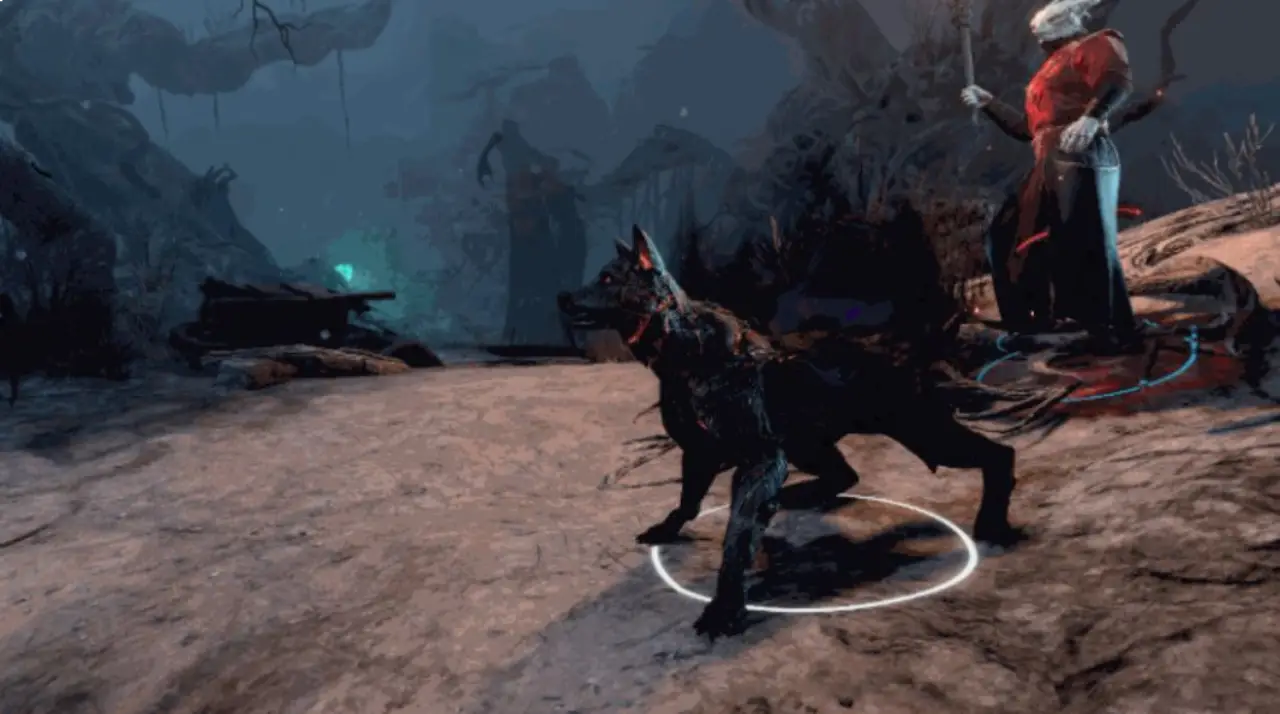
Hexblades get Proficiency with all melee weapons in the game, allowing you to wield whatever you like. You must bind to your chosen weapon to unlock access to all of the Hexblade’s features, most notably the passive chance to place Hexblade curses on your enemies when you hit them. You can also spend a Bonus Action to apply the curse manually. It is easier to land Critical Hits on cursed enemies, and when a cursed enemy dies (even if killed by an ally) you will heal yourself. This set of features already gives your Hexblade powerful sustain in combat, allowing you to continuously heal yourself independently of any items or help from allies.
But when you reach Level 6, your Hexblade Warlock can also raise Spectres from fallen enemies. More powerful enemies will yield stronger spectres. The spectres can attack your enemies, and will heal your Warlock even more for a portion of their damage output. The Warlock can add to all of this by making ample use of Smite Spells to further boost their melee damage output. Since the Hexblade gets so much healing, we added the Broodmother’s Revenge necklace to the build which adds an extra 1d6 Poison Damage each time you get healed. In the late-game, we use the combination of the Risky Ring and Helldusk Boots to give you Advantage on all of your Attack Rolls. You can use the Helldusk Boots’ automatic Saving Throw success feature to mostly negate the downside of the Risky Ring.
On top of all of this, you have access to the Warlock’s usual wide range of spells to aid your mobility, attack and defence in any way you wish. The Hexblade is almost too good to be true – it’s versatile, a good spellcaster, good in melee, good at long range and can self-heal better than almost any other subclass in the game. I would say that it’s almost supremely powerful, but this also means it’s the most likely Patch 8 subclass to be hit with the nerf hammer at some point.
Learn More: BG3 Hexblade Warlock Build Guide
| Discipline | Rating |
|---|---|
| Melee Power | 90 |
| Ranged Power | 70 |
| Support | 85 |
| Ease of Play | 95 |
| Overall Rating | 89 |

#2 – Swashbuckler Rogue
While the Hexblade Warlock comes with a wide array of eye-catching new features to dazzle friend and foes alike, the Swashbuckler is almost as powerful but for different reasons. Rogues have always been a class with a higher skill ceiling, rewarding patient, intelligent and experienced players for thinking outside of the box, being stealthy and setting up ambushes. You could gain access to powerful Sneak Attacks which dealts loads of extra bonus damage, but this required you to roll with an Advantage, usually by sneaking up on the target. The Swashbuckler changes all of that.
If you choose the Swashbuckler, you don’t need to roll with an Advantage to use sneak attacks. You just need to ensure you don’t have a Disadvantage, and be within melee range of the target. This makes the Rogue much easier to play, as you’ll now be easily able to use your Sneak Attack in the majority of situations.
Swashbucklers also get a couple of extra Actions they can use to help their party. They can use a Flick o’ the Wrist to attempt to disarm an enemy, or they can throw sand at an enemy to Blind them, giving your whole party Advantage when attacking them.
The Swashbuckler subclass is themed around not playing by the rules, and while it doesn’t make as much of a song and dance about its new features as some of the other new subclasses, this one is very strong and very easy to play.
Learn More: BG3 Swashbuckler Rogue Build Guide
| Discipline | Rating |
|---|---|
| Melee Power | 90 |
| Ranged Power | 65 |
| Support | 80 |
| Ease of Play | 90 |
| Overall Rating | 86 |
#3 – Oath of the Crown Paladin
I recognise I am probably in a minority of players here, but I never liked the Paladin all that much. There’s nothing wrong with it at all, but if I want a tough melee guy, I’ll make a Fighter or a Barbarian, and if I want a healer/support guy, I make a Cleric or maybe a Druid. To me, the Paladin always just seemed halfway between these two roles, excelling at neither. I have to admit, though, I’ve mellowed recently, and the Smite spells feel super cool to use. I’m not quite a convert yet, but I can’t ignore the Oath of the Crown Paladin.
This is the quintessential support tank that BG3 has never quite had until now. From the beginning of the game, you unlock the Righteous Clarity Channel Oath Action, which allows you to add an ally’s Proficiency Bonus to their Attack Rolls. Put this on your best damage dealer to make their attacks more accurate. This is a pretty neat buff that already justifies the Crown Paladin’s place in your party. But there is more to come.
From Level 3, you can use Champion Challenge, which compels all nearby enemies to attack your Paladin. You don’t need Concentration to maintain this effect. This is a soft taunt, because enemies can technically still attack your allies. But they will receive Disadvantage when doing so, and the AI recognises this and usually goes for your Paladin. Therefore, you can play into this by stacking as many defensive buffs as possible on your Paladin. At Level 7, you get even better at protecting your party, as you can absorb an attack aimed at a nearby party member, transferring the damage to your Paladin.
The Crown Paladin also has access to all of the spellcasting and Smite Spells that other Paladins do, of course. You don’t have to build this as a full tank, indeed our Crown Paladin Build uses Great Weapons to boost the damage output, but it’s easy to swap for a full tank build if you want. Just equip a shield, the Shield of Faith spell and a good set of Heavy Armour if you prefer to go in this direction.
Learn More: BG3 Oath of the Crown Paladin Build
| Discipline | Rating |
|---|---|
| Melee Power | 85 |
| Ranged Power | 65 |
| Support | 85 |
| Ease of Play | 60 |
| Overall Rating | 78 |

#4 – Arcane Archer Fighter
When I first heard about the Arcane Archer, I was slightly unsure about it because it sounded very similar to the Ranger, and I wasn’t sure what would set it apart. But I’m glad to say I was wrong about this.
Arcane Archers are pretty similar to the Battle Master class already available to the Fighter, except your special abilities are now all Ranged. You get a few arcane arrows after each Short or Long Rest, which you can spend on your Arcane Archer Actions. Some of my favorite Arcane Shots are:
- Bursting Arrow – Explodes on impact, dealing 2d6 Force Damage to enemies within 3 metres.
- Grasping Arrow – Deals an extra 2d6 Poison Damage on top of the regular attack damage. Reduces the target’s movement speed. Deals another 2d6 Piercing Damage when the target moves.
- Piercing Arrow – Pierces all targets within the line of your shot. They must all succeed a Saving Throw, or take 1d6 extra damage. This requires some patient positioning to line up the shot, but it’s worth it if you can make it work. Keep a lookout for chokepoints and other opportunities to arrange your enemies in a line.
- Seeking Arrow – This arrow deals 1d6 bonus damage and attempts to apply Faerie Fire to the target. This arrow cannot miss its target. If the Faerie Fire debuff succeeds, the target will be much more vulnerable to subsequent Attack Rolls, so this is a great Arcane Shot to use against a high-priority target like a boss or a powerful monster.
These extra actions give you a lot of extra damage potential and versatility. And the base Fighter Class is still unchanged, so you can shoot three arrows per turn at high levels (and more with buffs like Haste and the Bloodthirst Elixir) and you can still be a formidable melee fighter when needed.
Learn More: BG3 Arcane Archer Build
| Discipline | Rating |
|---|---|
| Melee Power | 85 |
| Ranged Power | 90 |
| Support | 40 |
| Ease of Play | 80 |
| Overall Rating | 76 |

#5 – Path of Giants Barbarian
The idea behind the Path of Giants Barbarian is to be the biggest, strongest brute on the battlefield. When you use your Barbarian Rage, your character will be temporarily enlarged, granting them a little bonus damage and Advantage on Strength Checks. You can stack this with other Enlarge effects, most notably the Enlarge spell, for funny results.
Path of Giants Barbarians can kick enemies away from them instead of shoving them. The main difference is that you can shift targets up to twice the weight that shoving would allow.
From Level 6 you can use the Elemental Cleaver feature, which lets you infuse 1d6 damage of a chosen element into your attacks. You can freely change the desired element, allowing for synergies with some gear items that trigger on particular damage types. As usual with the Barbarian, there’s also synergy with the Tavern Brawler feat, which must be mentioned, allowing you to make an unarmed build and add heaps of extra damage to your attacks. That’s not the path we chose for our build, but it’s something you might want to try.
Finally, due to their size and strength, Path of Giants Barbarians have 25% extra Carrying Capacity, which is handy on long adventures.
There’s nothing remarkable about the Path of Giants Barbarian, but the Barbarian is already a good class and this adds a bit extra to all aspects of the Barbarian. I think it’s pretty much on par with the Berserker subclass in terms of overall strength.
Learn More: BG3 Path of Giants Barbarian Build
| Discipline | Rating |
|---|---|
| Melee Power | 95 |
| Ranged Power | 45 |
| Support | 35 |
| Ease of Play | 90 |
| Overall Rating | 74 |
#6 – Death Domain Cleric
The Cleric is already one of the strongest classes in BG3 thanks to its wide selection of spells, fitting for all situations, and ability to support and heal your enemies. Clerics are also capable of dabbling in Necromancy, and that’s the area that the Death Domain Cleric focuses on, along with boosting their ability to dish out Necrotic Damage.
The first thing to note is that your Necromancy Cantrips that usually target one creature will now target two creatures, allowing you to deal quite a bit of additional damage from the start of the game. Next up, you unlock Touch of Death, which allows you to spend a Channel Divinity charge to infuse additional Necrotic Damage into a melee attack. This includes melee spell attack rolls such as Inflict Wounds. From Level 6 you can ignore enemy Resistance to Necrotic Damage. This is really useful, as Necrotic Resistance is quite common in enemies and this otherwise becomes a nuisance to players focusing on Necromancy-based attacks.
At Level 8, you unlock Divine Strike, allowing you to add 1d8 Necrotic Damage to your weapon attacks (once per turn).
I don’t think the Death Domain is anything remarkably strong. It is good, but the Light Domain and Life Domain Clerics are better. But if you get tired of those two subclasses (or just want a new take on Necromancy rather than a Necromancer Wizard), you should give the Death Domain Cleric a go.
Learn More: BG3 Death Domain Cleric Build
| Discipline | Rating |
|---|---|
| Melee Power | 65 |
| Ranged Power | 60 |
| Support | 90 |
| Ease of Play | 60 |
| Overall Rating | 73 |

#7 – Shadow Sorcerer
The Shadow Magic Sorcerer is a subclass that is mostly carried by a unique summoned creature it has access to.
Initially, the subclass is defined by its ability to cast the Darkness spell, and the ability to see through all darkness, including magical. This allows you to set up traps and plunge enemies into darkness that only you can see through, putting them at a huge disadvantage. This sounds great on paper, but in practise it isn’t so easy – you need to stop the enemy (usually several of them) from moving out of the darkness, otherwise the shenanigans will end after one turn, your party needs a specific setup otherwise some of them will also be unable to hit the shrouded enemies, and if you lose Concentration then the darkness disappears. Experienced players with a finely-tuned party can pull this playstyle off for sure, but if its your first playthrough then you will probably just find it frustrating.
That’s enough doom and gloom, though. The Shadow Sorcerer’s affinity with darkness does come in handy, particularly in Act II, but more important is your unique ability to summon a Hound of Ill Omen. Already a handy companion on its own, the Hound of Ill Omen can summon a weaker shade of itself when it gets hit. It can repeat this every turn. And the weaker shades can also summon shades. I’ve always said that summons are great in BG3, even if they don’t deal much damage themselves, simply being there will cause the enemy AI to waste their time attacking your summoned creatures rather than the caster who summoned them. Summoning creatures means your party takes less damage, in a nutshell.
Besides, the summoned shadowy hounds gives the Shadow Magic Sorcerer one of the firmest (and coolest, if you like the aesthetic) identities of all of the Patch 8 subclasses.
Learn More: BG3 Shadow Magic Sorcerer Build
| Discipline | Rating |
|---|---|
| Melee Power | 45 |
| Ranged Power | 80 |
| Support | 80 |
| Ease of Play | 55 |
| Overall Rating | 72 |
#8 – Circle of Stars Druid
The Circle of Stars Druid helps to solve a couple of the Druid’s innate issues. It works by giving you three special “Starry Forms” to spend your Wild Shape charges on, instead of the animal shapes (you can still use the animal shapes if you want).
The Starry Archer form solves the Druid’s early-game lack of a good cantrip by allowing you to shoot Radiant arrows at your enemies. Later on, Druid players often struggle with keeping Concentration on their spells, since the class is heavily reliant on Concentration Spells to pull of some of its most powerful effects such as Spike Growth, Call Lightning and Insect Plague. But the Circle of Stars Druid also helps you here – you can use the Starry Dragon form to guarantee a roll of at least 10 on Concentration Saving Throws.
Later on you gain some Cosmic Omens each time you rest. These allow you to boost or reduce dice rolls that happen in your vicinity, helping to sway combat in your favour.
I do like all of these effects, but it just doesn’t feel on par with a lot of the other new subclasses. I also think the Circle of the Land and Circle of the Moon are both better and have defined identities. This subclass is more on par with Circle of the Spores and suffers from the same problem – it wants to have a competitive and captivating subclass identity, but it just feels like it’s missing something to tie it all together.
Still, it’s not weak and if you’ve tried the Land and Moon Druids and want something different, then there’s no harm in choosing the Circle of Stars subclass.
Learn More: BG3 Circle of the Stars Druid Build
| Discipline | Rating |
|---|---|
| Melee Power | 45 |
| Ranged Power | 80 |
| Support | 85 |
| Ease of Play | 50 |
| Overall Rating | 72 |
#9 – Bladesinger Wizard
The Bladesinger is a new subclass of the Wizard that finally adds a “spellsword” archetype to the game. That’s what I thought at first until I saw the Hexblade. For that is the main issue with the Bladesinger. It’s not a bad subclass, but it largely fills the same niche as the Hexblade, which is miles better.
The Bladesinger can give themselves the Bladesinging status several times per rest. It lasts for up to 10 turns, and grants a bonus to Movement Speed and Armour Class. While active, you can accumulate Bladesong Damage Charges and Healing Charges by hitting enemies with your melee weapon and by casting spells. You can opt to end your Bladesong with Bladesong Climax, which will consume your charges to deal bonus Force Damage to an enemy, and heal nearby allies. The amount of damage and healing depends on how many charges you accumulate.
This is a decent mechanic, and it opens up an interesting new way to play the Wizard class. The only issue is that the Hexblade Warlock overshadows it.
Learn More: BG3 Bladesinger Wizard Build
| Discipline | Rating |
|---|---|
| Melee Power | 80 |
| Ranged Power | 55 |
| Support | 80 |
| Ease of Play | 50 |
| Overall Rating | 71 |

#10 – Swarmkeeper Ranger
The Swarmkeeper Ranger can tame one of three swarm types: bees, jellyfish or moths. The swarm type will alter the damage type dealt by the swarm, and the other effects that it grants. All three swarm types can be used to teleport your Ranger over a short distance, which is especially handy if you’re being chased down by a melee assailant.
The really good thing about the swarms is that you don’t need to spend an Action, Bonus Action or Reaction to utilize them. Instead, you can use one Swarm Action each turn. Swarms also enjoy bonus damage when attacking a creature afflicted by Hunter’s Mark, a spell that Rangers will typically utilize to increase their damage output.
The Swarmkeeper Ranger is a modest subclass that expands on an often-overlooked class. It’s not especially strong, but there are no problems with it.
Learn More: BG3 Swarmkeeper Ranger Build
| Discipline | Rating |
|---|---|
| Melee Power | 50 |
| Ranged Power | 95 |
| Support | 55 |
| Ease of Play | 55 |
| Overall Rating | 70 |
The post Top 10 Builds for BG3 Patch 8 appeared first on AlcastHQ.


